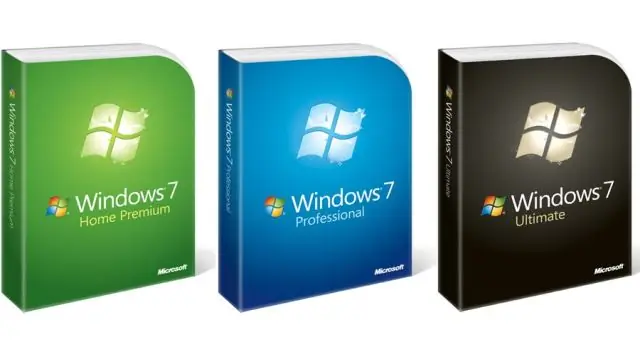
When purchasing a personal computer, keep in mind the fact that the operating system is often not installed. But this is not a problem, since Windows can be installed independently and without the help of a programmer.

Necessary
licensed version of Windows
Instructions
Step 1
After purchasing a personal computer, purchase a licensed version of the Windows operating system. Rely on the specifications of your PC. If the RAM is less than 2 GB, then purchase Window XP SP3, and for computers with more than 2 GB of RAM, you can use Windows Vista SP2 or Windows 7 SP1.
Step 2
Since your hard drive is clean, you need to install the operating system through the BIOS. Insert the disc into the drive. Press the “F8” or “Delete” key (depending on your PC model) while the computer starts up. The BIOS menu will open. Open the boot priority selection tab. Place CD / DVD-ROM first, Hard Disc (HDD) second. Press “Esc” - “y”. The system will reboot and read data from the disk.
Step 3
The installation menu will open. You will have the right to choose the installation in automatic mode or in semi-automatic mode. Indicate the required option. Copying the Windows root files to your personal computer will begin. Next, the menu for selecting a virtual partition will start. Since there was no operating system on this hard disk earlier, you need to divide it into virtual partitions yourself (at least two - “C” and “D”).
Step 4
Install Windows on drive C. When copying files, provide an account name and password for it. Select the time zone you are in.
Step 5
After the installation process is complete, the operating system will start and you will see the desktop. Hardware Installation Manager prompts you to install the drivers. Download "fresh" drivers for the video card, sound card and motherboard from the manufacturer's website. After installation, restart your computer.


