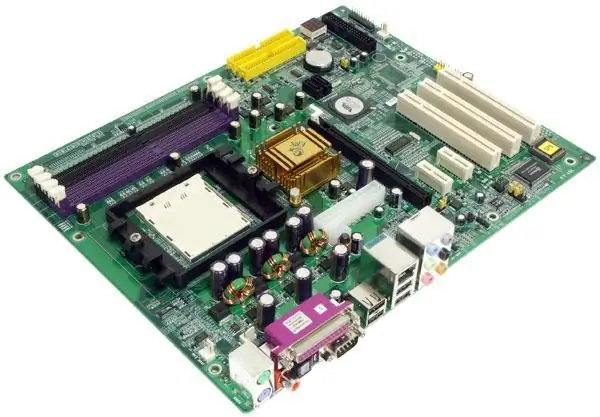
It is not difficult to look at the motherboard. This is usually the largest board in the computer. However, it is not always possible to disassemble the computer. For example, if the computer is under warranty or it is a laptop. In this case, special test programs will be needed.

Necessary
Curly screwdriver or installed Everest software
Instructions
Step 1
The easiest way is to restart your computer. Many motherboards display a name logo on the screen at startup. You just have to remember it.
Step 2
If there is no such logo, try to determine the type of your motherboard using the Everest program. Then you do not need to open the computer case. Launch Everest, wait while the program detects all the components of your computer. The name of the motherboard can be seen in the "Motherboard" section or at the very beginning of the report issued by the program.
Similarly, you can determine the brand of the motherboard using the programs SiSoft Sandra or hwinfo32.
Step 3
If the programs cannot identify the motherboard (which sometimes happens on branded computers), then all that remains is to open the computer case. First of all, turn off your computer and unplug it from the mains! Even in a turned off computer, if the power is not disconnected from it, there are voltages sufficient to damage the motherboard when it is short-circuited. Use a curly screwdriver to remove the retaining screws on the left cover of the computer case (or by hand if you have special screws with a large head). Gently slide the cover back a couple of centimeters and remove it. The large board on which most of the components are installed is the computer's motherboard. Its manufacturer is usually painted in white on the northbridge heatsink, and the model is written between the expansion slots. If, due to dust, the name cannot be read, it can be removed with a soft brush and a stream of air, for example, from a hair dryer.


