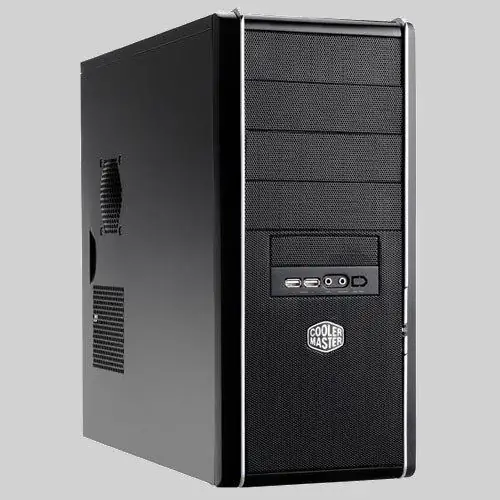
The front panel on the system unit is considered a rather convenient addition. Many users place its body under the table, but every time you don't want to climb under the table. Having configured the front panel, you can always quickly connect speakers, a microphone, and a couple of USB devices.

Necessary
Computer
Instructions
Step 1
The front panel is by default connected to the motherboard, which has special connectors. Each motherboard has a different location for these connectors. Correct connection is possible only by studying the operating instructions (from the motherboard). If you bought a computer from a store, this panel should already be connected.
Step 2
The panel can be configured only after connecting all possible devices to its ports, for example, a microphone, speakers and some USB devices. Control over the connection of the microphone and speakers is carried out by the sound card drivers. If the sound is built into the motherboard, you can control it using the Realtek Manager software or another program (depending on the manufacturer of your computer's sound hardware).
Step 3
On the front panel, the microphone jack is marked in pink and the speaker jack is green. USB devices must be plugged into special oblong sockets. While everything is clear and extremely simple with USB, adjusting the sound of the speakers and the reception of the microphone signal requires certain knowledge.
Step 4
It is good to monitor the activity of the incoming microphone recording signal through special programs or the standard "Sound Recorder" program in the Windows operating system. If the recording scale does not resonate, then the microphone is not physically or hardware connected. To enable the hardware device, you need to go to the properties of the sound card driver.
Step 5
Start the Master Volume applet. To do this, double-click on the speaker icon in the system tray. In the window that opens, click the top menu "Options" and select "Properties". In the "Mixer" field, select the Input option. At the bottom of the window, check the box next to the Microphone line and press the Enter key to close the window. The microphone should work.
Step 6
Checking the second jack, which is for speakers, is easy enough. Connect speakers or headphones to this jack and turn on any audio player. The appearance of sound in the speakers means that the front panel is correctly connected to the system board.


