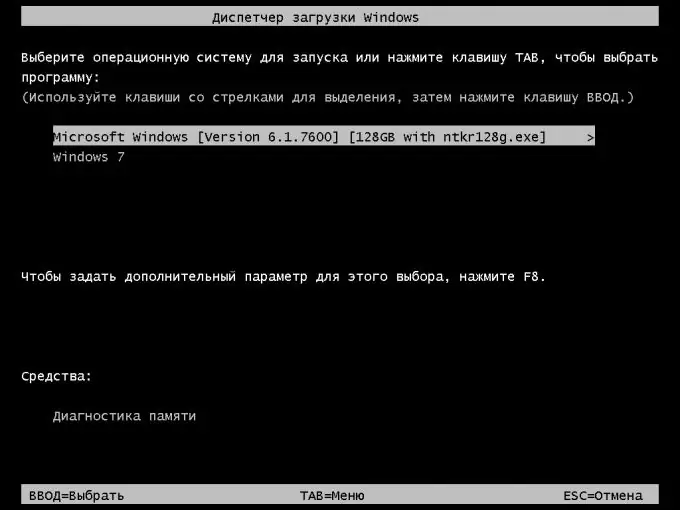
The "System Restore" function in modern versions of Windows works almost automatically. Damage to the Windows boot loader is the exception when the system is not able to cope with the problem on its own. User assistance required.

Instructions
Step 1
Specify the DVD drive as the first device in the BIOS settings.
Step 2
Use the Windows installation disc and follow its instructions until the Install window appears.
Step 3
Select the "System Restore" box.
Step 4
Specify the operating system and location.
Step 5
Click "Next".
Step 6
Select the "Command Prompt" field in the "System Recovery Options" window that opens.
Step 7
Enter the value Bootrec.exe in the new cmd.exe command prompt window.
Step 8
Enter Bootrec.exe / FixMBR to write the MBR to the system partition. This feature allows you to fix corrupted Master Boot Record (MBR), the Master Boot Record, without modifying the existing partition table.
Step 9
Enter Bootrec.exe / FixBoot to write a new boot sector to the system partition if the boot sector is damaged, the system boot sector is replaced with a non-standard configuration, or a previous version of Windows.
Step 10
Enter the value bootsect / NT60 SYS to run the bootloader code NT6 (Bootmgr) overwritten by the previous version of Windows (optional).
Step 11
Enter Bootrec.exe / ScanOs to scan all drives for installed operating systems. The utility will also show found systems that were not registered in the Windows boot configuration data store at the time of the check.
Step 12
Enter Bootrec.exe / RebuildBcd to completely overwrite the Windows Boot Configuration Data store.
Step 13
Use value
bcdedit / export C: BCDcfg.bak
attrib -s -h -k c: ootcd
del c: ootcd
bootrec / RebuilBcd to remove the previous repository.
If the bootmgr file is physically missing or damaged, it is recommended to use the bcdboot.exe tool.
Step 14
Enter bcdboot.exe e: windows, where e: windows is the path to the operating system files.


