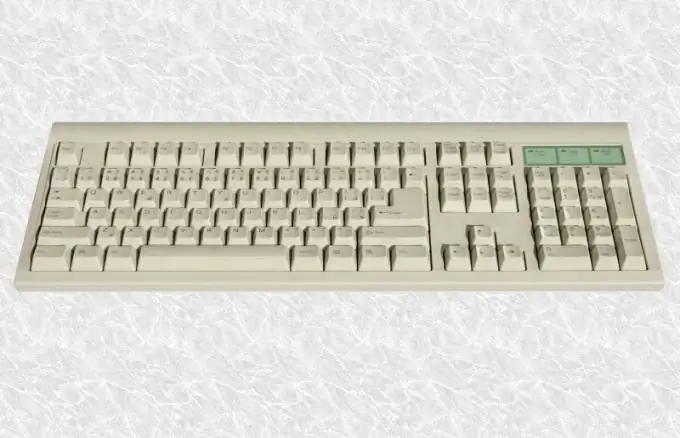
If some of the keys on a computer keyboard do not work, it is not at all necessary to change it to a new one. The cause of the malfunction lies in the damage to the cord or conductive tracks. Open the keyboard and restore it, after which it will be functional again.

Instructions
Step 1
Disconnect the keyboard from the computer. If it has a PS / 2 or AT interface, disconnect when the machine is not working. The USB interface allows you to disconnect and connect peripheral devices even when the computer is running.
Step 2
Flip the keyboard over. Remove all screws located on the bottom. Since they can be of different lengths, sketch where which ones were. Place screws and any other parts that come off the keyboard in a jar to prevent them from getting lost.
Step 3
While continuing to hold the keyboard upside down, remove the bottom cover. You will find a small printed circuit board, a multi-layer set of films with conductors and pads, and a soft canvas with grooves and pushers (or separate pusher caps). In the second case, lift the set of films, remove all pushers, and then put them in another jar.
Step 4
Remove three or four more screws holding the PCB (sometimes these screws are on the outside - then you've already removed them). Remove the board and you can remove the film set. Do not lose the soft pad that presses the board against the films.
Step 5
If all the keys are inoperative at once, disconnect the cord, ring it with an ohmmeter, and then reconnect it. Repair the cord if necessary. At the same time, do not mix up the contacts in places - this threatens to damage both the keyboard and the motherboard of your computer.
Step 6
If only part of the keys does not work, first carefully examine the contact comb of the printed circuit board. It is she who presses against the films. If the comb contacts are dirty, clean them. Then inspect the films themselves. Repair the damaged tracks. If the film is rough, a soft pencil will work. If it is glossy, you will have to use glue to restore contacts in car rear window heaters. Cover the area around the damaged track with two strips of duct tape so that only it remains open. Apply the glue, let it dry completely, and then remove the tape. Repair the rest of the damaged tracks in the same way.
Step 7
Reassemble the keyboard in reverse order. Do not forget about the caps, as well as the soft pad that presses the board against the films. Tighten all the screws that secure the board well and evenly, but do not overtighten them to avoid stripping the threads in the plastic case. Check the keyboard for functionality.


