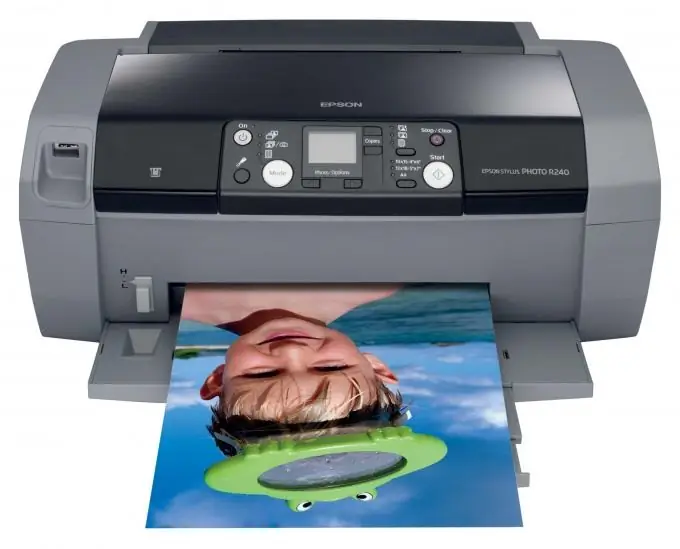
Many owners of Epson R200 string printers have problems. To solve them, it is imperative to remove the head. This is a rather complicated matter. Be extremely careful when removing the printer head.

Instructions
Step 1
The main problem is that black smears on paper in large volumes. Huge blots remain. If you have this problem, then try to print the other five colors as well. They don't show themselves in any way? Then you need to start opening the printer and removing the print head for further flushing.
Step 2
First, remove the two screws located on the back of the printer. Then remove the side covers. They hold onto the bottom of the printer with small latches. It is best to use a screwdriver to remove it. Press the latch at the top and also inside the side cover that you are currently trying to unscrew. You can get to it through the printer itself. Use a long screwdriver for this. If you did everything correctly, the side cover will come off. Part of the viscera will be visible. A similar operation is carried out with another lid. Do not pinch, USB inputs will not interfere.
Step 3
After you have opened all the side covers, you need to start removing the paper holder. You need to easily press on it and stagger to the right and left. Then remove the upper plastic housing of the printer. Unscrew one screw located in the compartment where the head moves along with the cartridges. Next, you need to release the three clips on the back of the printer and the two clips on the front. The housing can now be removed upward. All buttons on the printer panel are connected with one thin ribbon cable. It must be disconnected. To do this, simply pull it to the left.
Step 4
Then, swing out the cartridge holder from the carriage side. Unscrew the screw and remove the side carriage cover. Note the two latches. They need to be unfastened. You can observe thin plumes. You don't need to touch them. Unscrew the two screws inside the carriage. They are the ones who hold the head itself. Be extremely careful with the ink fittings. It is not recommended to touch them with your hands. Pull the head up and out of the carriage. In the same position, place it on a blank sheet of paper. The printer head is removed.


