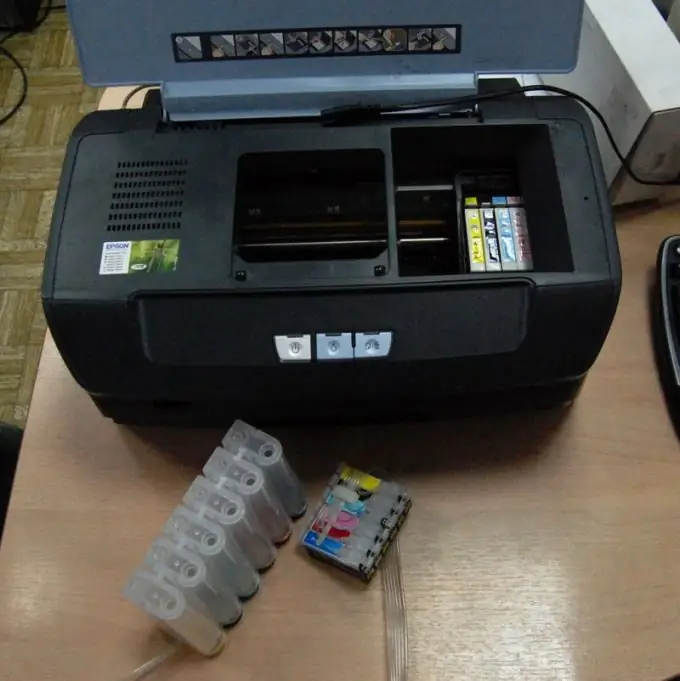
Very often, when the printer is not used for a long time, it stops accepting paper, blinks all the lights and does not print at all. This means it's time to change the printhead. This can be entrusted to the masters of the service center, or you can do it yourself so as not to pay extra money.

Instructions
Step 1
Remove the paper feed tray. It is not necessary to remove the cover. Simply open the latch with your finger and pull out the tray. After that, after unscrewing the screws, dismantle the bezel panels. Please note that there are also latches under the screws - press them a little, and the plastic will bend back. Grasp the edge of the sidewall and slide the panel away from you. Follow the same steps to remove the bezel on the other side.
Step 2
Remove the USB frame. To do this, pull it up and back at the same time. There are screws under it that fix the case. Unscrew both screws and remove the upper part of the housing. Next, you will see the latches, which must be simultaneously clamped and pulled towards the plastic. Then you can remove the printer cover by pulling it up.
Step 3
Unlock the carriage to remove the assemblies. Find a large white gear inside the printer in the left corner. Rotate it gently by hand to unlock. Perform all operations after disconnecting the printer from the network. Before turning on the printer, make sure the carriage is in the correct position - slide it into the parking lot.
Step 4
Disconnect all electrical loops and remove the safety plates that are located on the inside and outside of the carriage. Also remove the contact power supply of the chips. To do this, slide the carriage to the right until it stops while squeezing the latch. Lift the block up and dismantle its right side.
Step 5
Move the carriage to the left until it stops and in the same way remove the chip power supply from the left side. A printhead will appear in front of you, which is secured with three bolts. Unscrew them, remove the cables from the connectors, and then remove the head.
Step 6
Replace the head and reassemble the printer in the reverse order. If you are performing this operation for the first time, then for the convenience and guarantee of correct assembly, write down all your steps so that you can repeat them exactly and not leave "unnecessary" details.


