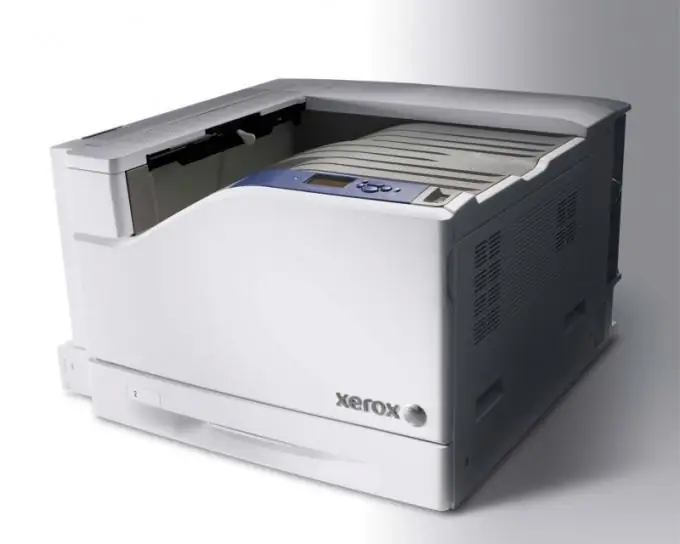
After creating a local network in the office or at home, you need to configure access to certain resources. In this case, we are talking not only about publicly available directories, but also about various printers, scanners and other devices.

Instructions
Step 1
Connect the printer to a computer or laptop that is part of the local network. The type of connection is irrelevant in this situation. This can be a standard USB cable connection or Wi-Fi sync. Install drivers and software to work with your printer.
Step 2
Make sure the device is stable. Click the Win button and go to the control panel. Select the Printers and Other Hardware submenu. Click on the "Printers and Faxes" link.
Step 3
Find the icon you need for the printing device and right-click on it. Open the properties of this equipment. Go to the "Access" submenu by clicking on the tab of the same name.
Step 4
Activate the "Share this printer" box. To do this, check the box next to this item. Fill in the "Share name" field. It is better to use Latin letters for this. Save the hardware settings by clicking the Ok button.
Step 5
Check the accessibility of the printing device. Turn on the other networked computer and open the Printers and Faxes menu. Examine the contents of the left column titled "Printing Tasks". Find the link "Add a printer" and click on it with the left mouse button.
Step 6
Wait for the new Add Printer Wizard to launch. Check the box next to Network Printer and click Next. Now highlight the "Browse Printers" item and click "Next" again.
Step 7
Select the desired printing device based on the name that you specified during printer setup. Click "Next". Activate the "Use this printer as default" function. Click the Finish button.
Step 8
Perform the same configuration of the network device from other computers. If you plan to use several printing devices, switch them in a text editor.


