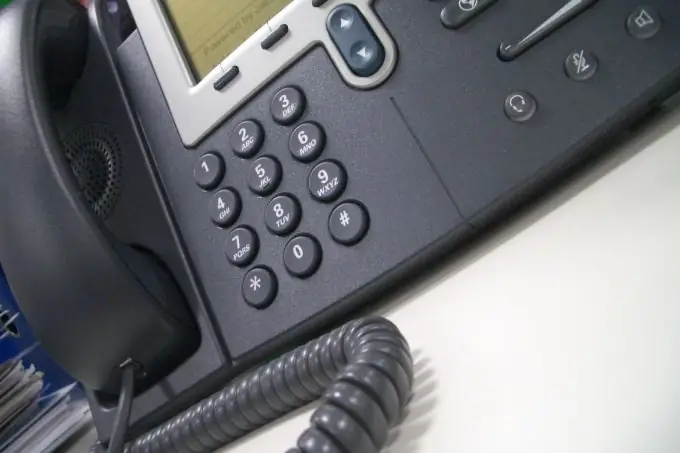
PBX programming is not an easy task and requires special knowledge and skills. To avoid malfunctions and, as a result, downtime, it is recommended to contact a specialist. As a rule, PBX programming is taught in specialized courses organized by the equipment manufacturer. There are general principles and rules according to which most modern PBXs are programmed.

Necessary
- - system telephone;
- - computer;
- - USB cable;
- - disk with driver and control program.
Instructions
Step 1
Prepare your equipment for programming. To get started, connect all city telephone lines to the appropriate ports of the PBX. Typically, in telephony terminology, such ports are designated by the letters CO.
Step 2
Connect all internal telephone lines to the appropriate ports on the PBX. These ports are of two types - digital and analog. They are designated by the letters EXT. Each port corresponds to extension number 101, 102, 103, etc. Proprietary telephones are connected to the digital ports. These phones are usually supplied with the PBX and will not work without it. A clear difference between a proprietary telephone and a conventional analog device is the presence of a large number of light bulbs opposite the speed dial buttons.
Step 3
Connect the PBX to the computer using a USB cable if the PBX has a USB port. Then install the PBX driver, PBX control program on the computer.
Step 4
If there is a USB port, program the PBX from a computer. To do this, run the PBX control program. Specify the USB port through which the PBX will be programmed. Then connect to the PBX by entering the programming password and login password. The default password is 1234.
Step 5
If there is no USB port, program the PBX from a proprietary telephone. In order for the phone to have programming rights, it must be connected to the EXT1 port, which corresponds to the number 101. To enter the programming mode, press the “Program” button, and then dial the combination “asterisk”, “hash” on the phone's numeric keypad. You will be prompted for a password to connect. The default password 1234 will also work here.
Step 6
After logging into the system, be sure to configure the basic functions that are critical to the health of the system. Set up the numbering plan first. Here the names of subscribers and their correspondence to internal numbers are registered. To do this, in the "Name" column opposite the extension number, enter the desired name that will be displayed on the proprietary telephone.
Step 7
Set up CO lines. It is necessary to set the tone or pulse mode of the lines. This is necessary to make calls from PBX over city lines. To do this, in the "Dialing mode" drop-down menu, select the mode corresponding to the line.
Step 8
Configure the distribution of incoming calls. In accordance with the distribution table, certain internal telephones will ring. By default, all phones ring when calling on any CO line. To do this, check the boxes in the table in the column of the extension number and indicate after what time from the start of the call the device should start ringing.
Step 9
Press the “Apply” button when programming from a PC or the Store button when programming from a PT to save the settings.
Step 10
When finished, close the program and disconnect the USB cable if the PBX is programmed from a computer, or press the Program button to exit the programming mode if the PBX is programmed from the phone.


