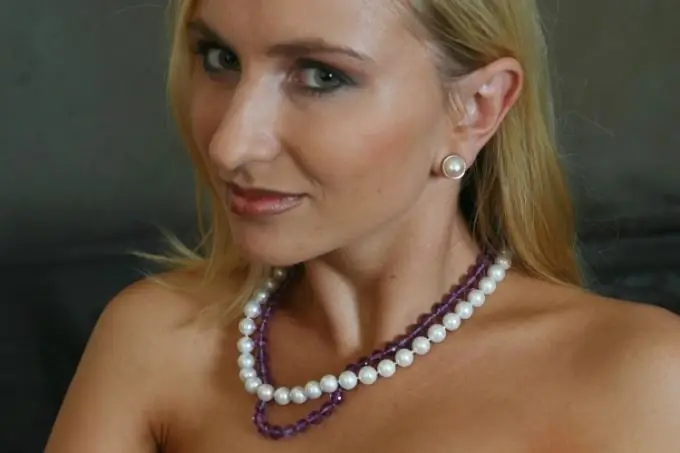
The graphics editor Adobe Photoshop has almost everything you need to process images, including changing the appearance of an object. If in the photo you are not satisfied with the shape or size of the nose, you can easily correct the sad reality using the tools of this program.

Instructions
Step 1
Open the image with Photoshop and duplicate it. This can be done using the hotkeys Ctrl + J or the command Layer via copy in the New group of the Layer menu. All corrections are best done on a separate layer so as not to damage the previous image.
Step 2
From the Filter menu, choose Liquify. This filter has its own fairly powerful tools and customization options.
Step 3
To enlarge the part of the image that you will be processing, use the "Magnifier" (Zoom) on the toolbar. To reduce the detail, use this tool while holding Alt on the keyboard.
Step 4
It is often necessary to move the image across the screen to select a specific area for processing. Select Hand on the toolbar and move the drawing by holding down the left mouse button.
Step 5
Before reshaping your nose, protect your face around it from possible deformations. Check the Freeze tool and adjust its options on the right side of the screen.
Step 6
Brush Size determines the size of the brush, Brush Pressure - the degree of impact on the image, Brush Density - the uniformity of impact on the edges of the brush. To reliably protect the features from deformation, set the values of the last two parameters to 100. Trace the nose along the contour. You can remove the mask with the Thaw Mask Tool ("Unfreeze").
Step 7
To reduce the size of the nose, select the Pucker Tool. Change the size of the brush so that it overlaps the area you are working on, and reduce the density and hardness values to 20 for a softer effect. You can enlarge the detail using the Bloat tool.
Step 8
Select the Forward Warp Tool ("Warp") to reshape the nose. Apply each tool no more than two times to make the correction look natural. To undo unsuccessful actions, click the Reconstruct button. To undo all changes, use Restore all.
Step 9
Click OK when you are happy with the result. If, despite all the measures taken, the skin near the nose has suffered, use the Healing Brush Tool to restore them.
Step 10
Move the cursor over the area next to the one you want to fix and left-click with alt="Image" - the tool will take a reference skin sample. Then just click on the problem areas - the distorted drawing will be replaced with the reference one.


