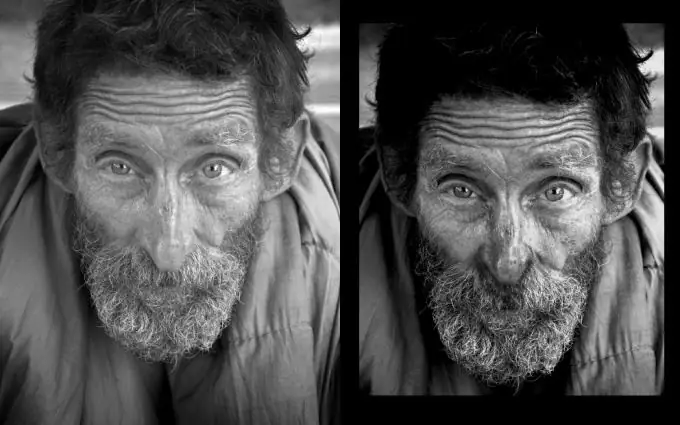
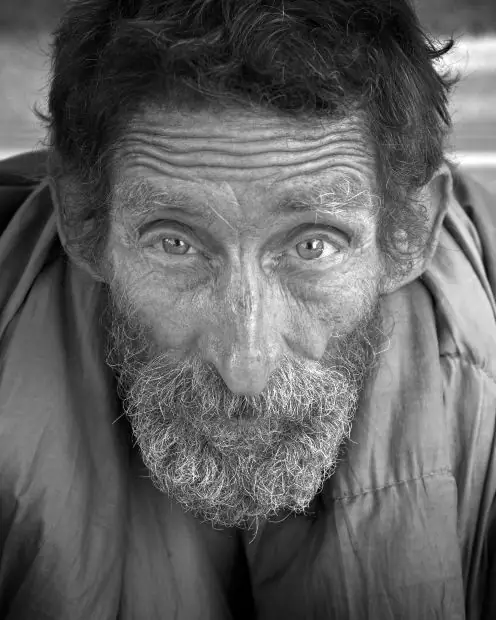
Our photographs do not always turn out the way we want them to be, and sometimes some parts of the body or faces are visually too prominent. And most often it is the nose. The fix is very simple, just a little knowledge of Adobe Photoshop and a little creativity.

Necessary
Computer, Adobe Photoshop program
Instructions
Step 1
Open your photo. Then duplicate the Background layer. To do this, select Duplicate Layer from the Layer menu if you have an English version of the program. Sometimes in photographs the borders of the nose are difficult to distinguish, you can solve this problem by increasing the contrast of the image (Image - Adjustments - BrightnessContrast).

Step 2
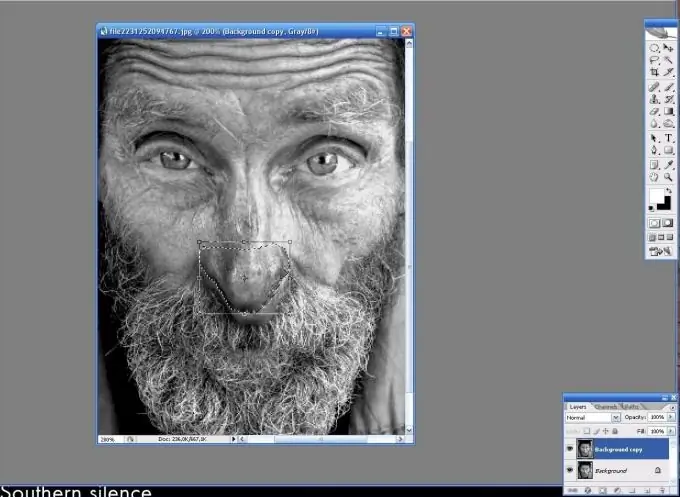
Now select the Lasso Tool and select the nose, then press Ctrl + T. Thus, you will switch to the free transformation mode of the selection. By dragging on the corners of the selection, you can resize the nose to your liking. You can also drag the nose to a different location.

Step 3
You have resized and positioned the nose, but now the bottom layer is visible underneath. This problem can be solved with the Clone Stamp tool. This tool is intended for transferring areas of an image using ordinary drawing. Move your cursor over the area that you want to fill the desired space. In this case, it is the area between the nose and mouth. Hold alt="Image" and click on this area. Then release alt="Image" and start painting directly under your nose where you want to fill. You will have to practice, but soon you will understand all the simplicity and convenience of this tool.

Step 4
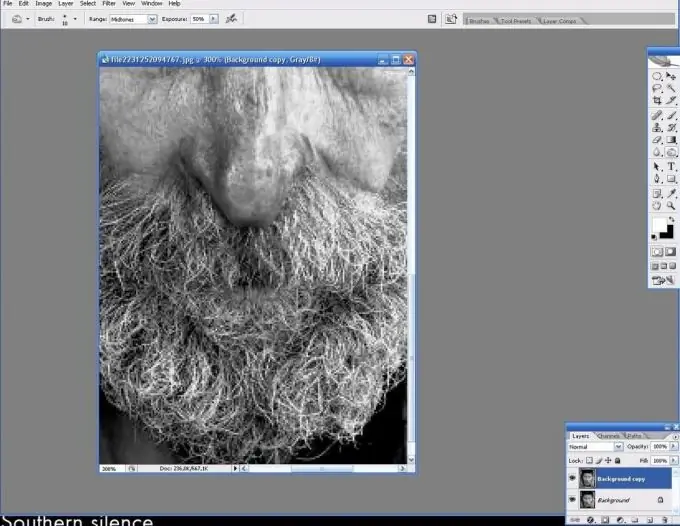
All that's left to do is make some minor cosmetic improvements. Select the Burn Tool and add shadows under the nose if you think they should be there.


