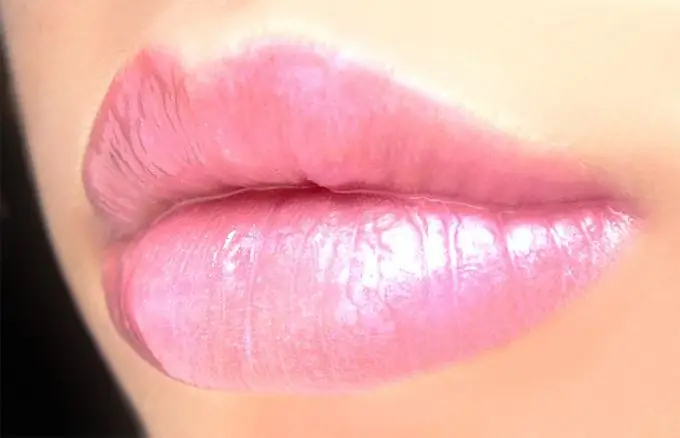
To make lips brighter in Photoshop, do not try to paint directly on the lips, they should not lose their volume and naturalness. To combine the texture of the original and the new color, it is necessary to use the layer overlay technique presented in Photoshop.

Necessary
Photoshop
Instructions
Step 1
First, open the desired image in Photoshop. By default, it appears as the main background, but you need to make it a simple layer. To do this, double-click on it in the layers panel, after that the "key" indicating that it is the background should be removed.
Step 2
Then create a second blank layer. Click Layer - New Layer or Shift - CTRL - N.
Zoom in on the photo if you want the lips to be closer by pressing CTRL - +. Choose a soft brush of the correct diameter so that it is easy to paint over the entire surface of the lips. In order to make the lips look naturally brighter, scarlet or pink is usually used. Thus, then click on the "Fill" tool, and in the Color Picker select the desired color. In our example, it will be pink.
Step 3
Next, just start painting over the entire surface of the lips. You should always make sure that you are working with an empty layer in the layers panel, and not with a photograph. The most difficult thing is to paint carefully and not to crawl out over the edge of the lips. Although, even if this happens, the Eraser tool will always help you fix the situation.
Step 4
When the entire surface of the lips is painted over, you can proceed to the next stage. It is necessary on the layers panel to select the "Overlay" blending mode for the layer with the painted lips. You will see how the color has changed. If it doesn't suit you, then try lowering the layer's opacity. Soon you will achieve the result that suits you. Now you can see some of the mistakes that you made when painting over the lips. It doesn't matter - with an eraser when you zoom in, you can neatly fix it.
Step 5
Also, after that, for greater expressiveness of the lips, you can apply a few thin and small lines of white color to the scaled new empty top layer with the Pencil tool. They are usually applied near the notch on the upper lip or in the middle of the lower lip. If they stand out too much when you zoom out, you can always lower the layer's opacity.


