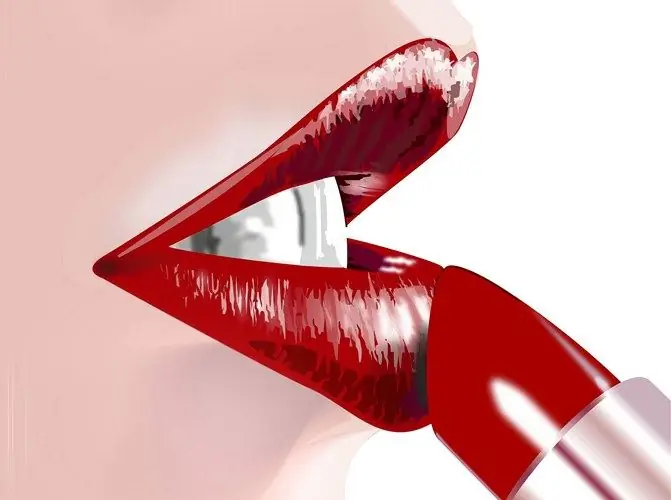
In the process of artistic retouching of photographs, it is often necessary to make the lips in the picture more shiny. The graphics editor Photoshop allows you to solve this problem in several ways.

Necessary
- - Photoshop program;
- - Photo.
Instructions
Step 1
Load the photo to be processed into Photoshop. Turn on the Lasso tool and select the lips along the outline. If the model's mouth is open in the picture, switch Lasso to Subtract from Selection mode and select the part of the image located between the lips, thereby excluding it from the selection.
Step 2
Using the Layer via Copy option, place the selected area of the image on a new layer. To create highlights, apply the Plastic Warp filter to this layer, the settings of which are opened by the option from the Artistic group of the Filter menu. Set the Highlight Strength and Smothness to values between seven and twelve units.
Step 3
Apply the layer to which the filter was applied to the photo in Hard Light mode by selecting this item from the list in the upper left part of the Layers palette window. If the highlights on the lips still look unnatural, lower the opacity of the filter layer by changing the value of the Opacity parameter.
Step 4
If, even after changing the layer's opacity, the result of applying the filter seems excessive to you, turn on the Erazer tool and erase those parts of the processed image that should not have glare.
Step 5
The result of applying the Plastic Warp filter depends a lot on the original image. If you need to add highlights to the image, the shape and location of which you will completely control, lighten the parts of the lip layer using the Dodge Tool. The result of using this tool can also be changed by lowering the opacity of the layer or erasing part of it.
Step 6
You can add gloss to the lips by painting highlights with the Brush tool. To do this, add a new layer to the open document using the Layer option of the New group of the Layer menu, select white as the main color and draw highlights on the created layer. Adjust its opacity to make the effect look more realistic.
Step 7
Using layers and the Brush tool, you can create highlights of varying degrees of brightness. To do this, duplicate the layer with the painted light areas using the Duplicate Layer option of the Layer menu and erase some of the highlights on the copy of the layer. The shine of the remaining areas will be more intense.
Step 8
Save the processed image using the Save As option of the File menu.


