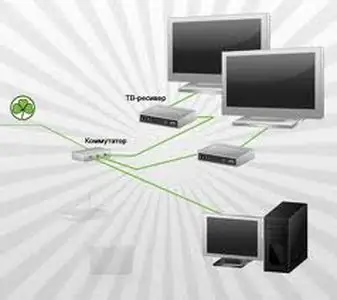
To eliminate such a disadvantage of Ethernet, as the simultaneous sending of packets to all addresses in the network, you can use special devices - switches (switches). They remember all the addresses of working devices and stations, and filter traffic according to the intended purpose - they send it at the moment the port is opened and the data packet is intended.

Necessary
Switch, cable crimper, lugs, technical documentation for the switch
Instructions
Step 1
Connect the switch to the power supply. Plug the power adapter into a power outlet.
Step 2
Connect the computer's network card to the switch using a network cable. The twisted pair wires must be equipped with lugs, powering the contacts according to the electrical diagram given in the technical documentation of the switch.
Step 3
Configure the network card. To do this, click on the "Start" button and select the "Control Panel" tab. In it, activate the "Network and network connections" section. In the new menu, select "Network Connections" and specify the network card with the right mouse button. If there is only one network card, select it anyway and press the OK button.
Step 4
Select "Local Area Connection", then activate the "Properties" tab. Use the scroll bar to select "Internet Protocol (TCP / IP)" at the bottom of the list. Activate the "Properties" button.
Step 5
Register in the "General" tab IP address and subnet mask - IP address 192.168.0.2 and subnet mask 255.255.255.0. Confirm the correctness of the set and click "OK".
Step 6
Check the operation of the installed switch using the ping service command. Specify the network address of the computer in the working network and set the sending of the data packet: ping 192.168.0.2 -t. The “-t” function means an endless exchange of data packets. To interrupt it, press Ctrl + C. In the dialog box, the program will inform you about the data transfer losses and the exchange rate.


