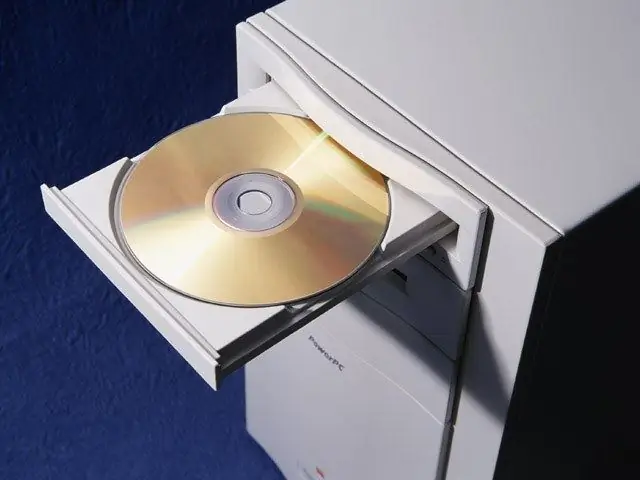
During the installation of the operating system, it is necessary to configure the boot sequence of devices. There are several ways to accomplish this process. They all have both disadvantages and advantages.

Instructions
Step 1
Installation of Windows operating systems proceeds with several computer restarts. It is important to understand that only the first start must be done from the boot disk. Use the hardware quick selection menu. Turn on your computer and open the DVD drive tray.
Step 2
Insert the installation disc into it and click the Reset button. As soon as the computer starts booting, press the F8 button. After a while, a new list will appear, consisting of the names of devices from which the PC can continue to boot.
Step 3
Use the arrows on your keyboard to move the cursor to DVD-Rom and press Enter. Wait until the monitor displays Press any key to boot from DVD. Press Enter again or any other key.
Step 4
If you are using a mobile computer, you will need to press a different function key. Usually these are the F2 or F12 buttons. After moving to the next menu, select Boot Options or Boot Device.
Step 5
Specify the device as Internal DVD-Rom or External DVD-Rom if you are using an external USB drive. Press Enter and wait for the prepared disk to start.
Step 6
If you plan to constantly load different disks, change the options in the BIOS menu. Open it after turning on the computer. To do this, press the Delete (desktop) or F2 (laptop) key.
Step 7
Now open the Boot Options menu and select Device Priority. If there is no such item, find the First Boot Device submenu. Highlight it and press Enter. Check the box next to DVD-Rom and press Enter again.
Step 8
Return to the main BIOS menu window. Highlight Save & Exit. Press the Enter key. After the command confirmation window appears, press the Y key. Wait until the computer restarts and the message described in the third step appears.


