It so happens that for a finished video clip, you need to create a demo version, in other words, a shortened version that would not contain any unnecessary information. Often, having watched this version of the video, the user decides whether he will download the full version.

Necessary
SUPER program
Instructions
Step 1
In the event that the video sources are saved on your computer, you can make a demo version of the clip from the video editor. To do this, save a shortened version of the clip (that is, one that will not contain the author's intro, credits and other unnecessary information at the moment).
Step 2
Set the optimal settings for audio and video. In general, they should look like this: for video the bitrate should be 240 kbps, for audio sampling freq 22050 Hz, channels - mono (1), bitrate - 16 kbps. If the volume of your clip is approximately calculated according to the proportion of 1 minute of video to 2-2, 5 mb, then this is just right.
Step 3
If you do not have the source of the video, then you can go the other way. As an example of work, we will use the most common formats - AVI and WMV. Find SUPER, it is free and allows you to work with a huge number of formats.
Step 4
So, first, make a trimmed version of the clip. To do this in a video editor (for AVI you can use Virtual Dub. Load a clip into the program and cut the beginning and end of the blocks. In the Video menu, select Direct Stream Copy and save a new file. If your video is in WMV format, then you will have to look for another editor …
Step 5
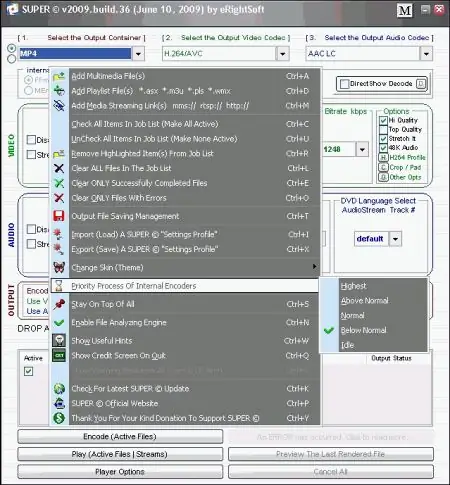
Now download, install and run the SUPER program mentioned earlier. Make sure that the program does not find any errors at startup. If she says that there is not enough space on the C drive, you can ignore this warning. Load the trimmed version of your clip into the program, set the parameters for the future demo version.
Step 6
First of all, select the desired bitrate parameter, this is perhaps the most important parameter. Also adjust the audio stream parameter (20050 Hz, as mentioned earlier). Set the rest of the parameters at your discretion. By the way, in the OUTPUT window you can keep track of what you end up with. After you have set all the necessary parameters, click the Encode button.
Step 7
In the event that the image quality of your demo version turned out to be low, and it is important for you that it looks better, try setting the Hi Quality, Top Quality parameters or increasing the bitrate.
Your demo is ready. Working with other video formats is not fundamentally different. Good luck and creative success!


