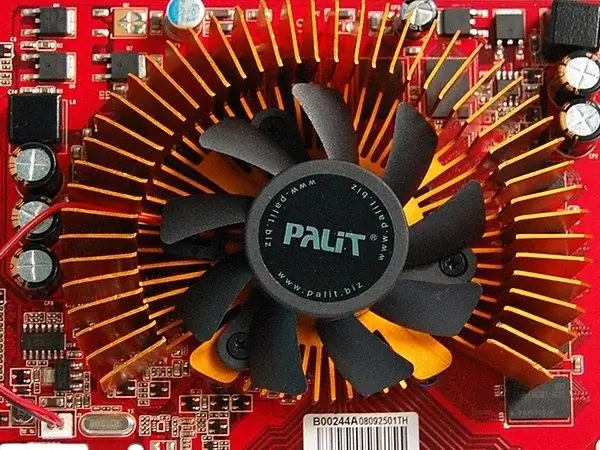
Modern video cards are equipped with powerful processors, and they generate a lot of heat. For cooling, radiators with additional coolers are installed, which become clogged and require cleaning during their operation.

Necessary
- - regular and watch screwdrivers;
- - soft brush;
- - blade;
- - machine oil;
- - wet wipe.
Instructions
Step 1
Disconnect the computer system unit from the network and remove its cover by unscrewing the mounting bolts. Pull the monitor cord out of the video card connector and unscrew the screw that secures it to the case of the system unit. If a standalone power cord is available for the video adapter, disconnect it. Remove the graphics card from the slot on the motherboard and slide it out.
Step 2
Pay attention to the way the cooler is attached to the graphics card. Remember that it is usually connected with four self-tapping screws at the corners of its base. Unscrew the screws with a clock screwdriver, and if you do not have one, use the available tools (for example, a pocket knife).
Step 3
With the fan disconnected from the graphics card, remove the power cord. Pull the wire slightly towards you and release it from the connection interface. Proceed with cleaning the fan from dust and then lubricating it. Using a soft brush and a damp cloth, remove any dirt from the cooler blades.
Step 4
Remove the tag from the front of the fan before lubricating the fan. Gently pick up its edge with a blade and peel it off from the cooler.
Step 5
After gaining access to the cooler bearing, send a drop of engine oil into it and stick the marking tag back on. When mounting the fan, place it in its place and connect it to the power connector. Insert the graphics adapter back into the slot and secure it with the screw. If necessary, connect power to the video card.
Step 6
Without installing the system unit cover, turn on the computer. Check the video card fan is working. If you did not find any complaints about its operation, turn off the computer and screw the cover of the system unit. Connect the cable from the monitor to the graphics adapter.


