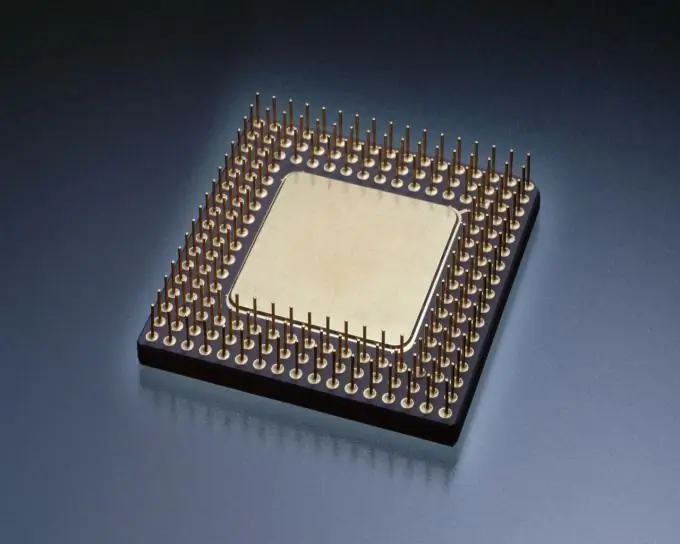
There are many ways to increase processor performance. The choice of method mainly depends on the model and capabilities of your motherboard, as well as its BIOS version.

Necessary
CPU-Z
Instructions
Step 1
Test your processor first. Make sure that it is working stably at the moment. Otherwise, the overclocking procedure can simply ruin this device. Install the CPU-Z utility and examine the processor status. The program menu will display the following required data: Voltage, Multiplier, Core Speed and Bus Speed (HTT).
Step 2
Note that the nominal frequency is obtained by multiplying the bus frequency with a multiplier. Now restart your computer and hold the Delete key to enter the BIOS menu.
Step 3
After opening the menu you need, press the key combination Ctrl and F1 (different models of motherboards may have different "hot keys"). Now find the BIOS menu item that is responsible for the characteristics of your processor and RAM. Depending on the motherboard model, these items may be called like this: Advanced Chipset Features, Memclock index, POWER BIOS or Advancded. Open the desired menu.
Step 4
Now find the working frequency of the RAM and set it to the minimum value. This is necessary so that when overclocking the processor, the memory frequency does not exceed the permissible limits.
Step 5
Now deal directly with the processor. If your motherboard version allows you to increase the bus frequency, then follow this process. Do not increase this parameter sharply. It is better to reboot several times, increasing each time by a couple of tens of hertz.
Step 6
Now increase the voltage applied to the processor a little. It is better to add no more than 0.15 V in one approach. Otherwise, an emergency shutdown of the computer may be triggered.
Step 7
Press the F10 key to save the settings and log out. Run the CPU-Z utility and assess the state of the processor. Repeat the overclocking procedure until optimum performance is achieved.


