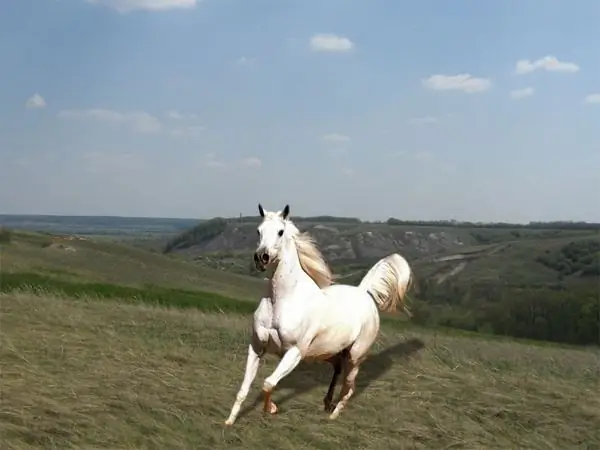
To create high-quality realistic collages in Photoshop, you need to properly adjust the lighting and indicate the direction of the shadows. Adobe Photoshop has powerful tools for this, including simulating lights and a variety of tools for adjusting shadows.

Necessary
- -Adobe Photoshop;
- -image.
Instructions
Step 1
Open the original image.
Step 2
In this landscape, you can add an image of a tree, a figure of a person or an animal. Let it be a photograph of a horse.
Step 3
Take a close look at the picture. It is clearly visible that sunlight is coming from the upper left corner, which means that the horse will cast a shadow diagonally, at an angle of approximately 45 degrees.
Duplicate the horse layer with Ctrl + J. Press the Ctrl key and click on the duplicate layer thumbnail to get a selection. Press the D key to set the default foreground and background colors. Press Alt + Delete at the same time to fill the selection with black. Deselect the selection by pressing Ctrl + D.
Step 4
Move the shadow layer under the horse layer. Press Ctrl + T, select the Distort function and distort the image so that it looks like a shadow lying on the ground. Set this layer to Opasity = 50%. From the main menu choose Filter, Blur, Gaussian Blur. Assign Radius = 2 pix.
Step 5
In order to add volume and depth to the image with the help of shadows, you can use the Layer Style. Open a new document with a white background and add a new layer. On this layer make a rectangular selection and fill it with any color. Double click on the layer thumbnail to open the Layer Style dialog box.
Step 6
Choose the Drop Shadow option. By changing the Distance, Spread and Size parameters, you can achieve the desired size and position of the shadow.
Step 7
Choose Inner Shadow. Change the distance and size of the inner shadow, as well as the opacity and blending mode, for a 3D effect.


