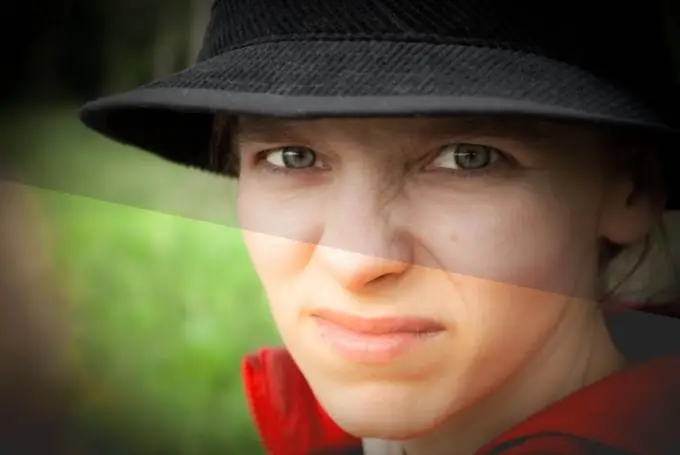
Due to the lack of light, the photographs do not always turn out the way the photographer intended. You can correct such oversights using the graphics editor Adobe Photoshop.

Necessary
Russian version of Adobe Photoshop CS5
Instructions
Step 1
Open Adobe Photoshop and add the desired photo to it. To do this, click the "File" menu item, then "Open" (here you can use the hot keys Ctrl + O), select the file and click "Open".
Step 2
Find the Layers panel (if not, click F7). At the bottom of this panel is the Create New Adjustment Layer or Fill Layer button. It is depicted in the form of a circle, one half of which is painted black and the other white. Click it and in the menu that appears, select "Brightness / Contrast". A window will open in which there are two sliders: "Brightness" and "Contrast", respectively. Experiment with them to get the colorful effect you want. If you want to return to the original settings, check the box next to "Use old".
Step 3
Click the Create New Adjustment Layer or Fill Layer button again, but this time select Hue / Saturation. Using the "Color background" setting, you can change the color palette in the photo: roughly speaking, replace red with green, yellow with blue, etc. The "Saturation" slider allows you to make colors more vivid (if you move it to the right) or dull down to black and white shades (if you move to the left). The "Brightness" slider is a more powerful analogue of the setting described in the second step of the instruction. Pay attention to the drop-down menu at the top of the window. It allows you to selectively apply the settings found here.
Step 4
To save the result, click the "File" -> "Save As" menu item (or Ctrl + Shift + S), specify the path for the future file, enter a name in the "File name" field, specify Psd in the "File type" (if in the future want to work with this project) or Jpeg (if you are only interested in the final result) and click "Save".


