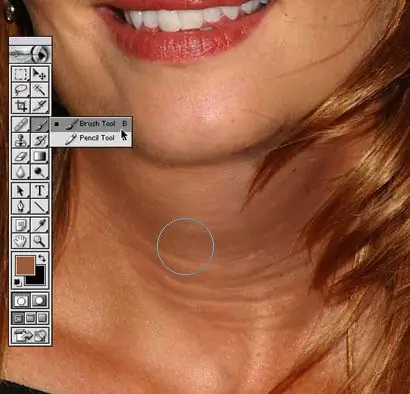
It's no secret that Adobe Photoshop, in addition to its other capabilities, is able to turn any ugly duckling into a real swan princess. And if you decide to correct some flaws in the photo, say, remove the second chin, then there is nothing easier - follow the instructions below.

Instructions
Step 1
So, carefully consider the photo in which you want to correct the jawline. Find an image of a girl on the Internet with the chin you like. Make sure that the faces in both photographs have the same or at least a similar angle.
Step 2
Now get down to work directly. First, reduce the fullness of your face a little, if necessary. To do this, use the Transform tool (you can call it with the Ctrl + t keyboard shortcut). By the way, rotate the photo so that the face is completely vertical, this will help to avoid distortion of the proportions in the future.
Step 3
Now press Enter, call the Transform tool again and extend the face a little vertically so that it looks narrower. Don't overdo it, it should look realistic. After this procedure, press Enter again. Then call Transform again and return the face to its original position.
Step 4
Now select the Lasso Tool and use it to select the chin area from the second photo. Copy the selected object (Ctrl + C). Use the keyboard shortcut Ctrl + V to paste this object into your photo. Using the already well-known Transform tool, change its position and size in accordance with the contours of the face. If the inserted fragment is colored, then you need to desaturate it (using the command Ctrl + Shift + U).
Step 5
Apply the Multiply Blending Mode, it works best in this case.
Step 6
Now select an eraser with very soft edges and use it to run around the edges of the piece. Repeat this step until the image looks absolutely realistic and meets your expectations.
Step 7
Now we need to add colors in some places (since the inserted fragment was black and white). To do this, press Ctrl + V, check the Colorize line and move the levers until the desired result is achieved.
Step 8
Now merge all layers into one. To do this, select the top layer (containing the inserted object) in the layers menu and press Ctrl + E. Press Ctrl + E again to merge the layer with the background.
Step 9
After merging the layers, select the Dodge Tool (choose a brush size and setting of your choice) and highlight some areas that are too dark as a result of the blending.
This concludes the work.
We hope you enjoy the end result. Good luck and creative success!


