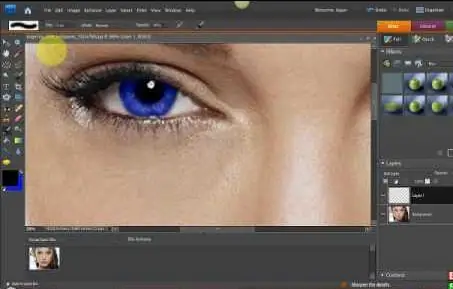
How to change one face to another in a photo? There is nothing complicated about this when using good old Photoshop. Even special skills are not required to make a "new person". You only need to choose a face and pick up a body.

Instructions
Step 1
Open two photos in Photoshop: the one that contains the desired face and the one in which this face needs to be changed. It is desirable that in photographs the faces have the same angle relative to the camera: the same lighting, distance, and so on. So, let's get down to the operation.
Step 2
First, prepare a photograph from which the face will be "taken". Select the Lasso Tool from the toolbar. Set the Feather to 5 pixels. Carefully trace the face. Capture all wrinkles and creases. But outline the forehead about less than half, you do not need to capture it all. Copy the highlighted area. To do this, in the menu, click "Edit -> Copy". There are also Ctrl + C hotkeys for this command.
Step 3
Next, move on to the second image. Create a new layer. In the menu bar, select the command "Layer (Layer) -> New (New) -> Layer (Layer)". Alternatively, use the Ctrl + Shift + N keys. Paste the previously copied area into this layer, that is, the face from the first photo. Select "Edit -> Paste", or Ctrl + V.
Step 4
First you need to fit the new face in size, and if necessary, then change the angle. Use a free transform to do this operation. In the submenu "Edit" (Edit) select item "Free Transform" (Free Transform). Next, you need to adjust the colors. So, select the layer with the new face, if you are not there already, and select "Layer (Layer) -> New adjustment layer (New Adjustment Layer) -> Hue / Saturation (Hue / Saturations)". In the window that appears, check the box next to Use Previous Layer to Create Clipping Mask. Click OK. Adjust the options so that the color is even. Now in the same way create another adjustment layer, but this time select "Brightness / Contrast" (Brightness / Contrast). Try to achieve maximum naturalness in contrast and colors.
Step 5
Use the Eraser Tool to erase all the unnecessary from the photo. Further, if necessary, apply shadows. The Burn and Dodge tools will help you with this. Add light and dark areas as desired. Remember, you need to be natural. Also you can add sharpness photos. To do this, select "Filter -> Sharpen -> Sharpen".


