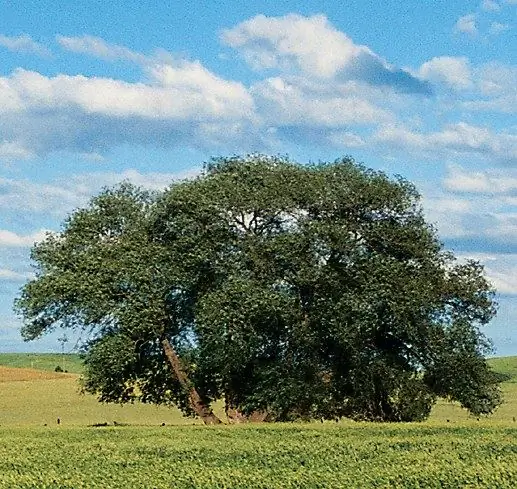
A selection in Photoshop is a special tool that allows you to work with a part of an image that is limited by a selection frame. In this case, you can select an object of any complexity, for example, a tree, by combining various methods.

Necessary
Adobe Photoshop installed on the computer
Instructions
Step 1
Open Photoshop and press Ctrl + O. Select a photo of the tree. Open it. Expand the Window top menu tab. Check the box next to Channels and look at the Photoshop working window. In the lower right corner, if you haven't moved the layers panel, the channels panel should appear.
Step 2
Click on the blue channel (Blue) with the right mouse button. Select Duplicate Channel. In the opened window, select the text (Blue Copy) and replace it with the text Tree Alpha. Do the same for the Red channel, but don't rename it. Click in the square to the right of the Red Copy channel. A peephole will appear and the image will turn red.
Step 3
Press Ctrl + L. In Input Levels enter values 50; 0.85; 222. Click "OK". Drag the Red Copy channel to the leftmost Load Channel as Selection button (dotted circle) at the bottom of the Channels palette. A selection will appear. Click on the Tree Alpha channel and press Ctrl + H on your keyboard. The selection will disappear. Then press Ctrl + L. Insert values 120 into the Input Levels fields; 1.2; 255.
Step 4
Press Ctrl + D then Ctrl + L. Adjust the Input Levels so that the background is white and the trunk and branches of the crown are black. Use values 30; one; 145 if possible. Then press Ctrl + I. The background will turn black and the wood will turn white.
Step 5
Drag the Tree Alpha channel to the Load Channel as Selection button from step 5. Go to the Layers panel. Click on the background layer and drag to the second from the right button (New Layer) at the bottom of the layers palette. Double click on the Background Copy name and rename it to Tree. Turn off the Background layer by clicking in the small "eye" box next to it.
Step 6
Drag the Tree layer onto the Add layer mask button. The background of the image will become checkerboard, that is, transparent. Click on the black and white image that appears next to the color one on the Tree layer.
Step 7
Remove the remaining terrain with a brush. Press "And" on your keyboard, specify any size and Hardness 100. Set the brush color to black. Paint over the remaining unnecessary parts of the background with a brush. Save the image by pressing Shift + Ctrl + S. Name the file and save it in.png"


