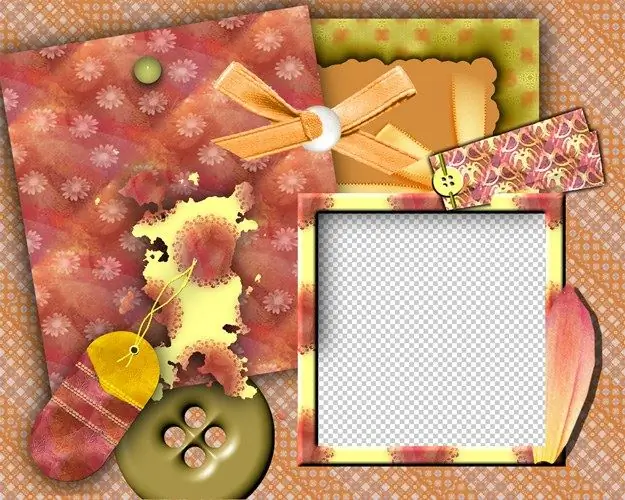
Templates are a real find for those who have just started to master the work with graphic editors. By combining your photo with the transparent area of the template, you can get a picturesque collage in just a few simple steps.

Necessary
- - Photoshop program;
- - Photo.
Instructions
Step 1
Open the folder with the template files and photos. Hold down the Ctrl key, select both files with the mouse and use the same mouse to move the icons to the open Photoshop window.
Step 2
In the toolbar, click on the Move Tool, a tool that allows you to move the details of an image. Using the Move Tool, drag your photo into the template window. The same result will be obtained if you select the entire image in your photo with the All command located in the Select menu, copy it with the Copy command from the Edit menu, switch to the window with the template by clicking on it with the mouse, and paste the copied image with the Paste command from the Edit menu …
Step 3
If the photo turned out to be much larger than the template or, which happens more often, the template turned out to be much larger than the picture inserted into it, reduce the size of the part of the future collage that turned out to be larger than the other. To do this, select the layer on which this image lies in the layers palette by clicking on it with the mouse.
Step 4
If the template you are working with is a layered psd file, select all its layers to resize the template correctly. It is quite easy to do this by clicking on the required layers with the mouse while holding down the Ctrl key.
Step 5
To change the size, apply the Scale command to the selected layers, which can be seen in the Transform group of the Edit menu. A frame will appear around the image, moving the corner handles of which, you can reduce the selected images. To reduce the template or photo without distortion, hold down the Shift key. After reducing the size of the picture, press the Enter key.
Step 6
If the template consists of one layer, move your image below the template. To do this, select the layer with the photo and apply the Send Backward command from the Arrange group to it, which can be found in the Layer menu. If the template has more than one layer, move your picture under the template layer that should partially cover it.
Step 7
Use the Move Tool to move the photo so that the transparent part of the template contains exactly that part of it that should be visible in the final image. It may turn out that the photo needs to be rotated. This is easy to do with the Free Transform command from the Edit menu. As you move the cursor over any corner handle of the box that appears, you will notice that the pointer has changed shape. Hold down the left mouse button and rotate the image. Press Enter again to apply the transformation.
Step 8
Save the resulting image to a.jpg"


