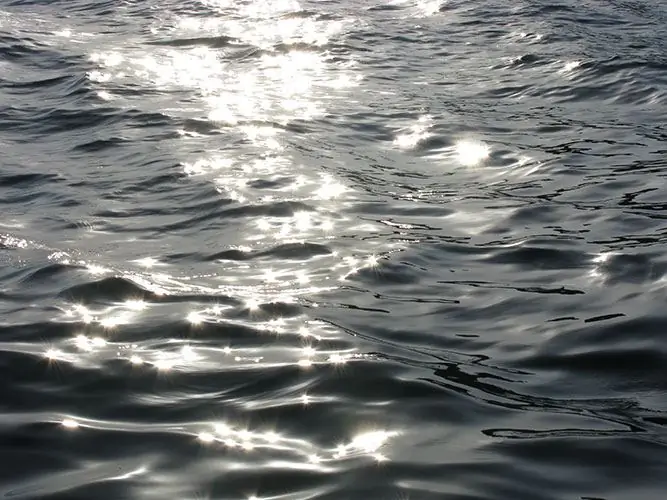
As a rule, with the help of modern raster graphics editors, they solve the problems of processing existing images, since it is very difficult to create full-fledged compositions in them from scratch. High-resolution blanks for subsequent layout are obtained in 3D modeling systems and vector graphics editors. However, many realistic images can literally be generated in bitmap editors using filters. For example, you can easily draw water in Photoshop.

Necessary
Raster graphics editor Adobe Photoshop
Instructions
Step 1
Create a new image in Adobe Photoshop. Use the keyboard shortcut Ctrl + N, or the menu items "File" and "New …". In the dialog for setting up the created image, enter its width and height in the "Width" and "Height" fields, respectively. In the "Color Mode" list, select "RGB Color", in the next list - the value "8 bit". In "Background Contents" set "Transparent". Click the "OK" button.
Step 2
Set the foreground color to white and the background color to black. To do this, click on the control displaying the corresponding color (these controls are located on the toolbar), after which the color selection dialog will appear. Choose the color you want. Click the "OK" button.
Step 3
Fill the entire image area with white. Activate the "Paint Bucket Tool". Click anywhere in the image.
Step 4
Apply the "Clouds" filter to the image. Select the menu items "Filter", "Render", "Clouds".
Step 5
Apply the "Glass" filter to the image. Select "Filter", "Distort", "Glass" from the menu. The filter settings dialog will appear. In the fields "Distortion", "Smoothness", "Scaling" enter the values 20, 5, 70, respectively. In the "Texture" list, select "Frosted". Click the "OK" button.
Step 6
Give the image a natural color. Open the "Image" menu, select the "Adjustments" item, click on the "Hue / Saturation …" item, or just press Ctrl + U. In the displayed "Hue / Saturation" dialog, check the "Colorize" radio button. Change the values of the "Hue" field by moving the slider located below it, or by entering values from the keyboard, select the desired shade of color. Similarly, adjust the values of the "Saturation" and "Lightness" fields, choosing the saturation and brightness. Click the "OK" button.
Step 7
Give perspective to the water. Using the "Zoom Tool", change the display scale so that the entire image is less than a third of the width and height of the document window. Select "Edit", "Transform", "Perspective" from the menu. Press and hold the Shift key. Then, using the mouse, grab and stretch the bottom edge of the frame that appears so that its shape becomes trapezoidal. Watch the image as you stretch. Change the length of the bottom of the frame until you achieve the desired perspective effect. Click on any button on the toolbar. In the appeared request window, click the "Apply" button.
Step 8
Save the image. Select "File" and then "Save for Web & Devices" from the menu. Specify the save format, compression parameters. Click the "Save" button. Select a save location and file name. Click "Save".


