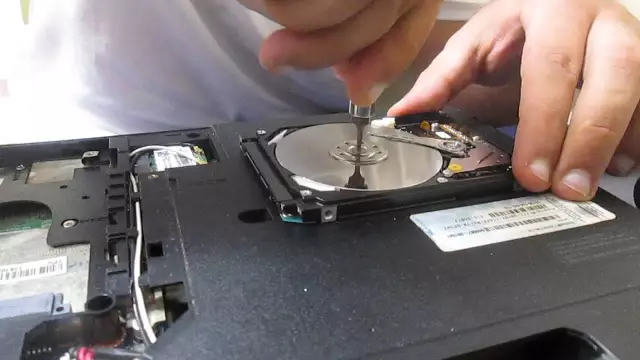
Even the highest-quality disk drive starts to work intermittently over time: it does not open discs, gives errors during recording. The life of the drive is limited, but before buying a new one, you should try to revive the old one.

Necessary
- - paper clip;
- - cross screwdriver;
- - small flat screwdriver;
- - rubber bulb;
- - soft, lint-free cloth;
Instructions
Step 1
The easiest way to restore normal operation of a drive is to clean its movable follower lens using a special cleaning disc. Unfortunately, this method does not always give a result. If dust on the lens is causing the drive to malfunction, a cleaning disc can help. But in some cases, a dirty lens has to be cleaned by hand.
Step 2
You should be aware that the cost of repairing a drive in a workshop is comparable to the cost of a new one. Considering this, you should try to repair the drive yourself, as you still have nothing to lose. Disconnect the computer from the network, remove the side covers of the system unit, disconnect the power and data cables from the drive. Unscrew the fastening screws that hold the drive and remove it from the case of the system unit.
Step 3
Now carefully disassemble the drive. To open the drive deck, insert a straightened paper clip into the hole on its front side and push. Then press down on the latches located at the front of the sides of the drive and remove the front bezel of the drive. Use a cross screwdriver to remove the fixing screws on the bottom of the case. Then remove the top and bottom drive covers.
Step 4
You need to get to the movable lens - it is through it that the laser beam that reads and writes information passes. There are two main ways to remove dust from it. First: take an ordinary rubber bulb and blow off dust particles with a strong jet of air. You should try this method first. Reassemble the drive, reconnect the cables and test it to make sure it works. If the drive still cannot read discs, wipe the lens with a brush or soft, lint-free cloth. This option is more restrictive, so be very careful.
Step 5
In the event that you clean the lens, but it does not help, the reason for the poor performance of the drive may be a decrease in laser power. It is regulated by a trimmer, so you can try to increase it slightly. To get to the laser head, you need to remove the electronics board and find a trimmer resistor on the laser head - it has a slot in the center. Gently turn it 90º counterclockwise with a screwdriver.
Step 6
Reassemble the drive and check it works. If necessary, you can turn the trimmer another quarter of a turn, but not more. If all the described procedures did not help, you will not be able to restore the drive.
Step 7
Sometimes a perfectly working drive will not read some disc formats. In this case, you can try to fix the problem by flashing the drive - that is, installing new software on it. To do this, go to the website of the manufacturer of the drive, find your model and see if there are firmware for it. Usually this is a simple executable file: you launch it, after flashing the computer will automatically reboot. After that, you can evaluate the success of the operation.


