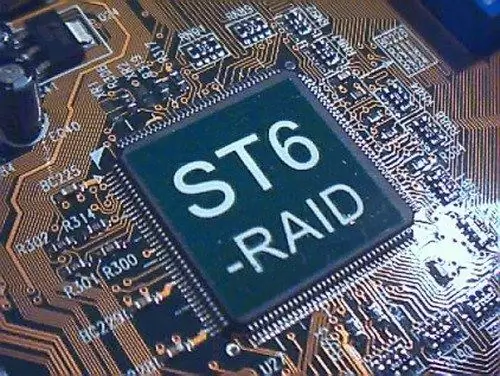
Almost all modern motherboards now have integrated RAID controllers. But if your computer has only one hard drive, then there is little point in using it, since it is designed to increase the speed of a system with several hard drives. Disabling the RAID controller on a single hard drive system can improve overall performance by freeing up additional resources and speeding up OS startup.

Necessary
Computer with Windows OS
Instructions
Step 1
You can disable the controller using the BIOS menu. To enter it, you need to press the Del key immediately after turning on the power on the computer. Also, depending on your motherboard model, a different key may be used to enter the BIOS. You can find out more information about this in the instructions for your motherboard or on the manufacturer's website. You can also try the brute force method. If the Del key does not work, you can alternately press the F keys (often the F5 key is used, and on laptops F2).
Step 2
When you press the desired key, instead of the standard boot to the operating system, the BIOS menu will open. You can only use the keyboard for control, since mouse control will not be available.
Step 3
Depending on the motherboard installed on your computer and the BIOS version, the function to disable the RAID controller may be in different sections. If you want to disable the integrated controller, then you need to look in the integrated devices section. It is usually called Onboard configuration. This section may also be called Configuration integral.
Step 4
Find the RAID controller item in this section. Then set its value to Disable, that is, "Disabled". Also you can find OnChip Serial ATA option. Then to disable the controller, you need to set this parameter to SATA.
Step 5
When you turn off the controller, exit the BIOS, making sure to save all settings. After that, the computer will be restarted and will already start in normal mode.
Step 6
If you could not find the option to disable the controller, then it is best to go to the developer's site of your motherboard and download a special manual, which will contain a complete description of the board and all the necessary instructions for enabling or disabling devices.


