Surely each of us still has our favorite audiocassettes with recordings of concerts and albums. And there are unique recordings, for example from amateur concerts, that you would like to digitize. You can also do this at home.

Necessary
- - computer;
- - connected sound card;
- - output of the music center;
- - special audio adapter;
- - a program for burning discs.
Instructions
Step 1
Determine the adapters necessary for recording audio tapes to disc, look at the back wall of your music center. Find the nests there, near them there is an inscription "Line In". In audio equipment, the RCA type is usually used, for this, use a special stereo adapter, which starts on one side with a pair of RCA connectors to connect to the music center, and on the other end there is a mini-jack connector for connecting to a computer. The external sound card uses different types of jacks, so purchase a dedicated audio adapter for them.
Step 2
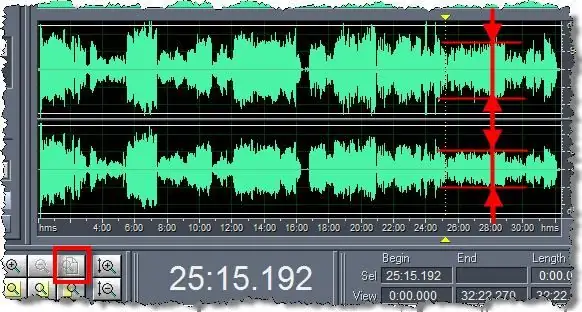
Go to the site https://www.auditionrich.com/articles/adobe-audition-v1-5-i-v3-0-bratjya…, download and install on your computer a special program for recording cassettes to disc, Adobe Audition. Install the mini-jack into the sound card. Turn on Adobe Audition in editor mode, go to the File menu, choose New. Press the Options command, check the box next to the "Line-in volume" option to record the signal from the line-in of the sound card. Right-click on the recording indicator field, select the Monitor Record Level line. Play the tape. Rewind the cassette to the beginning, press Ctrl + Space to start digitizing the audio cassette
Step 3
Wait for the tape to finish playing. Press "Space" in the program, stop recording. Save the record with the command "File" - "Save As", select a location on the disk and click "OK". Go to the beginning of the recording, find a "quiet place" in the recording, select its area, press alt="Image" + N. Go to Effects → Noise Reduction → Noise Reduction to remove noise. Click Select Entire, set a value from 70 to 95 and click OK. Remove noise from the signal. Go to the beginning of the file, select all the quiet place in the signal, press the Del key, do the same in the middle of the file, where the cassette was moved to the other side, and at the end of the recording. Save the file in any format you like, such as mp3, to your hard drive.
Step 4
Run any disc burning program, insert the disc into the drive. Start a new project, click the Add Files button. Select the digitized recording and click the Burn button. Wait for the disc burning to complete.


