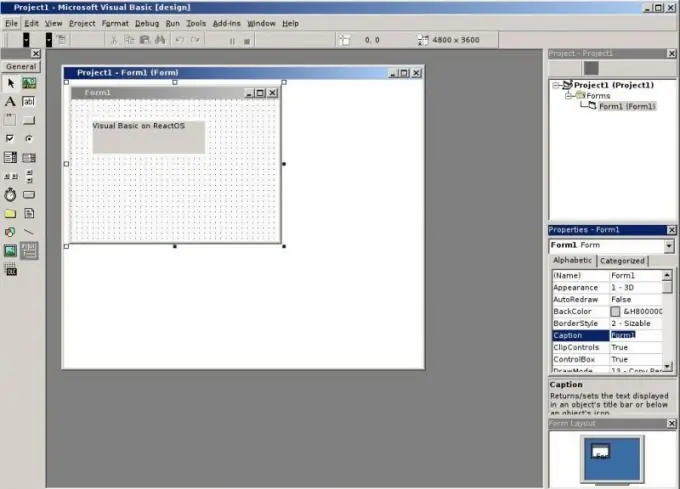
Visual Basic is an environment for software development, which is developed by Microsoft, includes a programming language. It inherited the style and partly the syntax of its predecessor, the BASIC language. The Visual Basic development environment includes tools for working with user interface design.

Necessary
- - computer;
- - installed Visual Studio program;
- - programming skills.
Instructions
Step 1
Start the Visual Studio program, create a project to complete the creation of the Visual Basic program. To do this, select the "File" menu, and in it the "New Project" command. In the dialog box, select the "Windows Application" option and click on the "OK" button. A form will open in the interface. By default, the project will be named WindowsApplication1. A Visual Basic project is where the parts of the program are stored and organized. The form that opens when creating a project is the window that will be displayed when the program starts. Accordingly, if the program has several windows, then the project may contain several forms.
Step 2
Add controls from the Toolbox to the form. It is located on the left side of the window, contains several tabs, including "All forms", "Components", "Data". Each tab has a specific set of operations that represent controls or components that can be added to the application when a project is created in Visual Studio.
Step 3
Select the Toolbox, click on the "All Forms" tab, drag the "Panel" control to the upper left corner of your form. Similarly, move the Text Area element to the Visual Basic program project. To change its position, simply drag it with the left mouse button to the desired location on the form.
Step 4
Add buttons to the right of the text block in the same way. Next, select the item that matches the project type, for example, "Web Browser" and place it under the panel. Each added control contains special code that determines its appearance, as well as the tasks that the control performs. You can create your own code, for example, for a button to change its appearance, add a specific task, but this is a laborious process. It is much easier to accomplish this by editing the project in Visual Basic.
Step 5
Next, customize the appearance of the program, add the code that defines their behavior. Add custom controls as needed. Next, conduct a trial run and test your program, if necessary, return to the designer of the Visual Basic project and fix the shortcomings.


