Technological progress is moving forward, and something new is constantly appearing on the market. Users did not have time to get used to one operating system when a new one appeared. However, Windows 7 is still in demand.

Instructions
Step 1
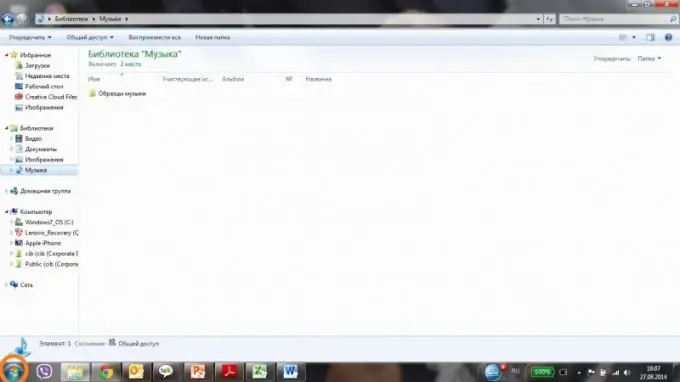
All settings for your account can be accessed through the control panel. First you need to open the Start menu. It is located on the taskbar at the bottom and is indicated by a round button with a checkbox of four fragments.
Step 2
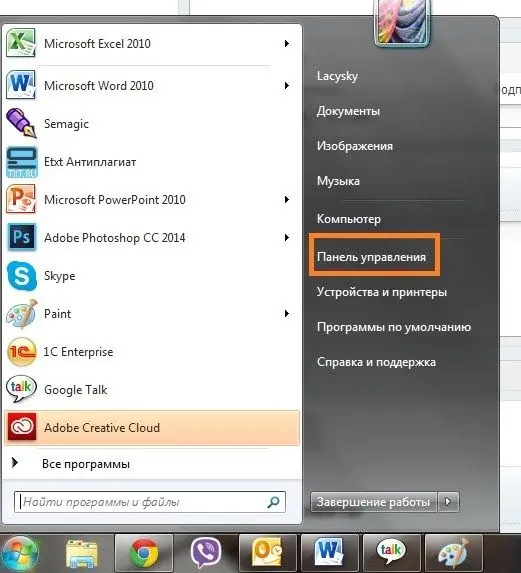
In the "Start" menu, select the "Control Panel" item, which is located on the left side. The control panel is part of the user interface of the Microsoft Windows operating system. Using it, you can perform basic steps to configure the system, for example, install or uninstall programs, enable accessibility, choose your own desktop design and themes, etc.
Step 3
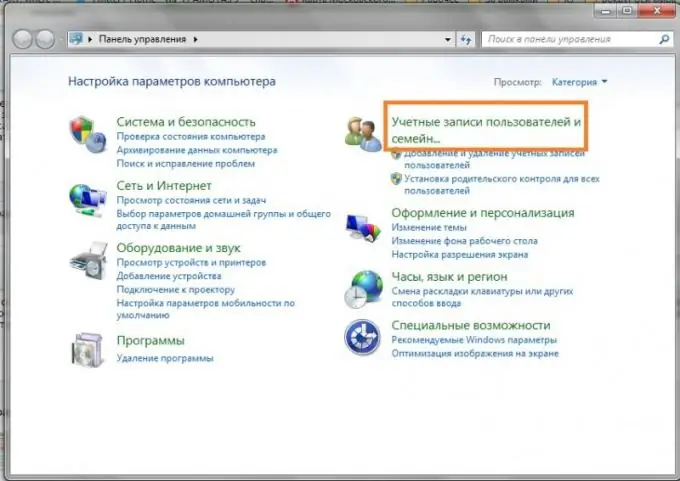
In Windows 7, the Control Panel looks different from what it was in previous versions of the system. In order to manage your account, you need to select the "User accounts and family safety" menu item. The control panel displays two sub-items: "add and remove user accounts" and "set parental controls for all users." But to change the user account is the main point.
Step 4
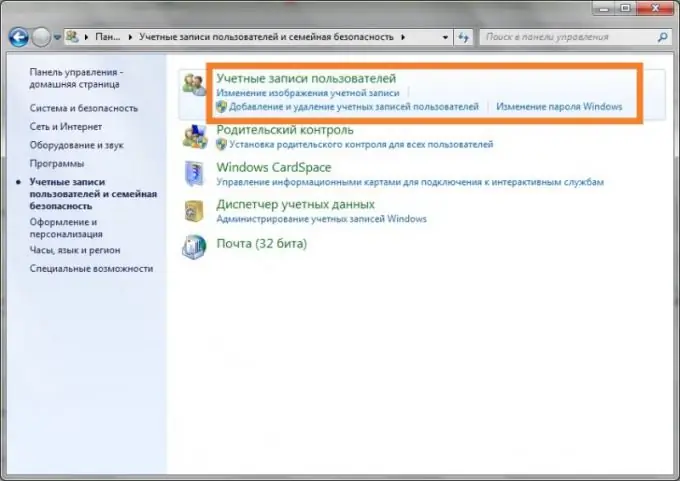
This will open the account management menu. The first menu item is the general item "user accounts". It is he who is needed in order to change your account. In the new window, you can change the password, account picture, its name and type, as well as change the settings for User Account Control.
Step 5
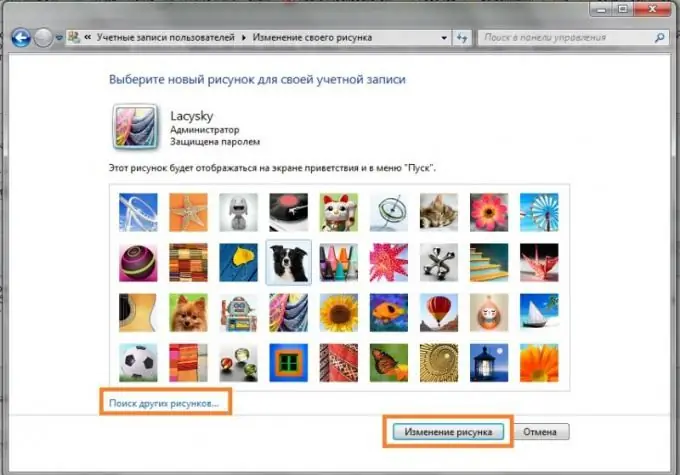
If you decide to change your account picture, select the appropriate item. A window with several pictures will open. The picture will be displayed on the Welcome screen and in the Start menu. To confirm your choice, click on the "change pattern" button. If the choice of pictures seems scarce, you can choose another picture. In this case, for the account image, select any image from the documents.
Step 6
If you want to change the name of your account, select the appropriate menu item. As in other cases, a new window will open. You can enter any name within twenty characters. To confirm and save the changes, click on the "rename" button. To return to the previous menu without changing the account name, click Cancel.
Step 7
If the computer has several users, you can configure its type for each account: normal access or administrator. With the first option, you can use most programs and change those system settings that will not affect the settings of other users and the security of the computer. Administrators have full access to the computer and can make any changes. Please note that the computer must have at least one administrator user.
Step 8
You can also create additional accounts or manage other accounts through the "Manage another account" menu item. A new window will show all the accounts on the computer. To create a new one, select "create account" at the bottom. By default, the second account is named "Guest".


