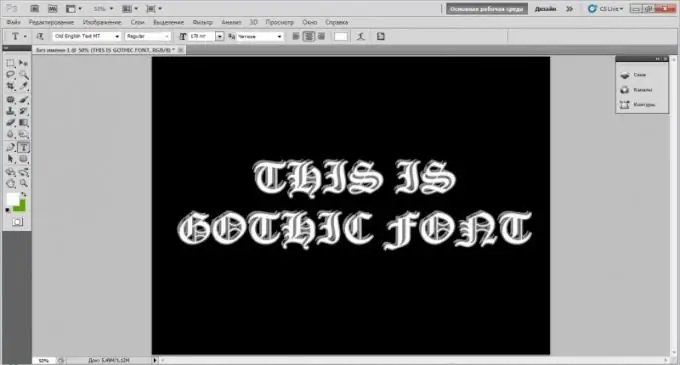
Writing the text in one of the non-standard fonts will make it look attractive. And in some cases, its use can serve as a way to style text, an example of which is the Gothic font.

Instructions
Step 1
First you need to find and install the appropriate Gothic font to work with. Search the Internet on thematic sites (for example, xfont.ru, ifont.ru, etc.) or using search services (Yandex, Google, Rambler, etc.). Once you've found the gothic font you want, download it to your computer's hard drive. If it is in an archive (rar, zip, etc.), extract it. After that, you will need to install the font into the system.
Step 2
There are two ways in which you can install the required font. Double click on the downloaded font file. A window will open in which its name and examples of text of different sizes will be displayed. Click on the "Install" button located in the upper part of the window. Wait for the process to finish. Upon completion, the font will be installed.
Step 3
The second installation option is as follows. Open the Windows operating system folder located on the system local drive using Explorer. Find and open the Fonts directory. Copy the gothic font file you downloaded into it. To do this, simply drag it with your mouse into this folder, or right-click on it, select "Copy", then right-click in the Fonts folder and select "Paste". Wait until the file is copied.
Step 4
Open the program in which you want to create the Gothic lettering. It can be a text editor, for example, Microsoft Word or a graphic one - Microsoft Paint, Adobe Photoshop, etc.
Step 5
In the "Font" item, select the installed font. Now start writing the text - it will be done in Gothic font. Also, you can first just write the text, then select it and in the "Font" select the desired one. The entered text will be presented in the Gothic style.


