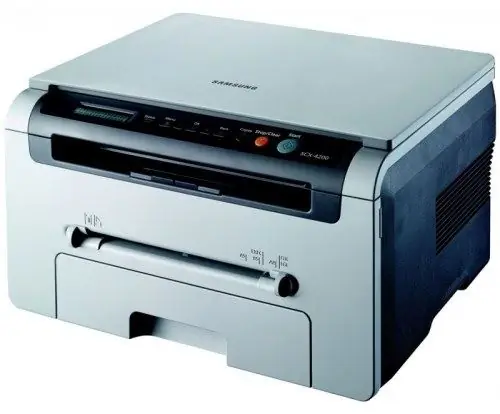
Nowadays, few people buy new cartridges for printers. Most of the users have adapted to refueling them on their own. Therefore, the developers of the printers invented special chips so as not to lose their main source of income. The main task of the chip is to block the possibility of printing after the resources of the cartridge are exhausted.

Necessary
universal programmer
Instructions
Step 1
For the cartridge to work, you just need to reset the chip counter. In fact, the data of the chip is reset to zero, and it starts counting again. For zeroing, a special device called a programmer is used. Of course, the device costs money. But it is better to purchase it once and refill the cartridges yourself than to buy new ones or pay for their refueling at service centers. Depending on the printer model, the cost of the programmer can vary greatly. It is necessary to buy the model of the device that matches the model of the printer.
Step 2
For Samsung printers, a universal programmer model is very popular, the principle of which is different from others. On her example, the process will be considered. You can find this model on the Internet. It is enough to dial "Samsung universal programmer".
Step 3
Connect the programmer to the USB port of your computer. The further procedure will be described using the example of the Windows 7 operating system. On other operating systems, it may differ slightly. The device comes with a Speed prog driver. Install it.
Step 4
The Speed prog folder will appear on your desktop. Open it, then - the file Speed prog. In the window that appears, click Test. After a few seconds, the program will detect the chips. Click on the arrow at the top. There will be the name of the serial number of the cartridge. Choose it. Then connect the chip to the programmer (described in the instructions).
Step 5
Then select Read all from the program menu. Save the file. This is an old firmware version. Next, this file (firmware) must be opened using the program editor. You can find out which values should be changed in the instructions for the program, which is in the folder on the desktop.
Step 6
After that, in the program window, click on the icon opposite the first arrow, which is located above, and select the file with the edited firmware. Then click Write all.


