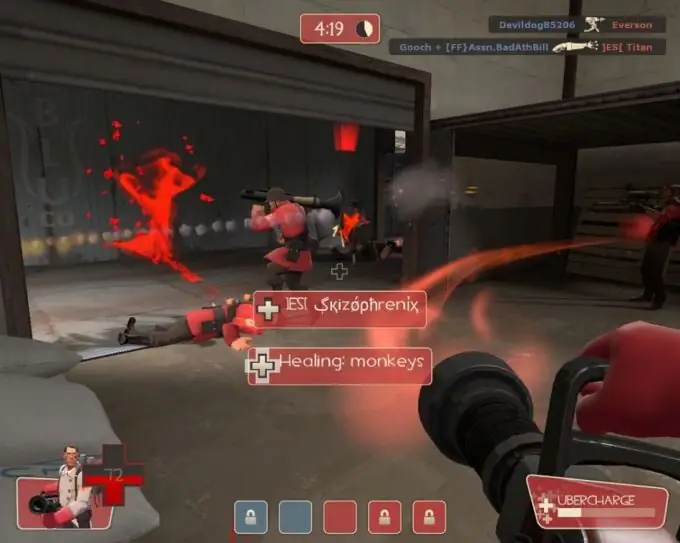
A demo recording (demonstration, or slang "demo") allows you to evaluate your own playing skills, without being distracted by various external stimuli: bullets flying at you, shells, swearing at defeated opponents, etc. In addition, demo recordings can (and should!) Be used as material for videos: guides, frag-movies, plot stories, etc. In general, a useful thing not only for a gamer, but also for a creative person. Let's take a look at how to record a demo using Team Fortress 2 as an example.

Instructions
Step 1
Start the game. Make sure your console is turned on. To do this, in the main menu go to "Settings", then "Advanced" and check the box next to "Enable console … (~)".
Step 2
Create a server. In the main menu, click on "Create Server" and select the card you need. If you don't want anyone to bother you, you can set a password. To do this, click on the "Game" tab and enter your password. Click Start.
Step 3
After the card is loaded, you can start recording. Choose a team (red or blue) and a class, for example, red demolition. Open the console (key "~" or "tilde") and write record demotest in the command line. “Record” is the command that activates the demo recording, and “demotest” is the name of the demo record, ie. you can call it whatever you want. But in a specific case, we will use the name "demotest". The recording has started.
Step 4
Close the console and play some actions in the game: jump, shoot, make a taunt, during which you look at your character from different angles, etc. When you see fit, stop recording: open the console again and write stop. Disconnecting from the server during the game will also stop recording the demo of the game. The console output window will display the number of frames recorded and the total time.


