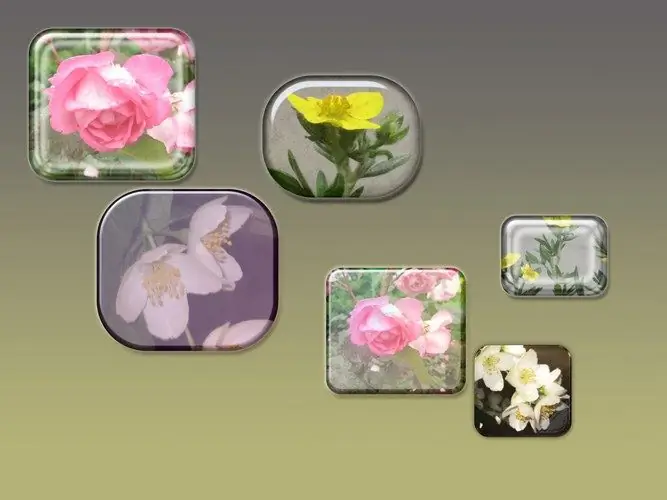
The main difficulty that arises when creating an icon from a photograph is choosing a picture that should look good when zoomed out many times. The plug-in for the Photoshop ICOFormat program will help to save the prepared image in the format for icons.

Necessary
- - Photoshop program;
- - plugin ICOFormat;
- - Photo.
Instructions
Step 1
Load the picture from which you are going to make an icon into a graphic editor. Use the Layer from Background option in the New group of the Layer menu to transform the background layer into an editable image.
Step 2
To create a complex icon, remove the background from the image, leaving only the foreground object. To get this result, apply the Reveal All option in the Layer Mask group of the Layer menu. Turn on the Brush tool, click on the created mask in the layers palette and paint over the background, choosing black as the main color.
Step 3
If the object from which you want to make an icon is located on a solid background, select the background color with the Magic Wand tool and fill the mask in the selection with the Paint Bucket.
Step 4
Reduce the document so that its long side is no more than three hundred pixels. If you are using a large image, reduce the image in several steps using the Image Size option in the Image menu, resizing by twenty-five percent each time. Select Bicubic Sharper as the interpolation method.
Step 5
A large picture containing many small details should be slightly blurred before resizing. To do this, use the Gaussian Blur option in the Blur group of the Filter menu. The blur radius should be about half a pixel.
Step 6
Using the New option of the File menu, create a new document in the form of a 256px square with a transparent background. Using the Move Tool, drag the thumbnail into the window of the created document. If necessary, slightly reduce the size of the picture using the Free Transform option of the Edit group so that the entire fragment, which will be your new icon, fits in the window.
Step 7
If you haven't removed the background from the photo, you can make the icon with rounded corners. To do this, create a mask with the Hide All option of the Layer Mask group, turn on the Rounded Rectangle tool in Fill pixels mode and draw a white rectangle with rounded corners on the mask.
Step 8
Save the resulting icon to a file with the ico extension using the Save As option of the File menu. If this format is not in the list of available ones, the size of the saved image is larger than 256 pixels on the larger side.


