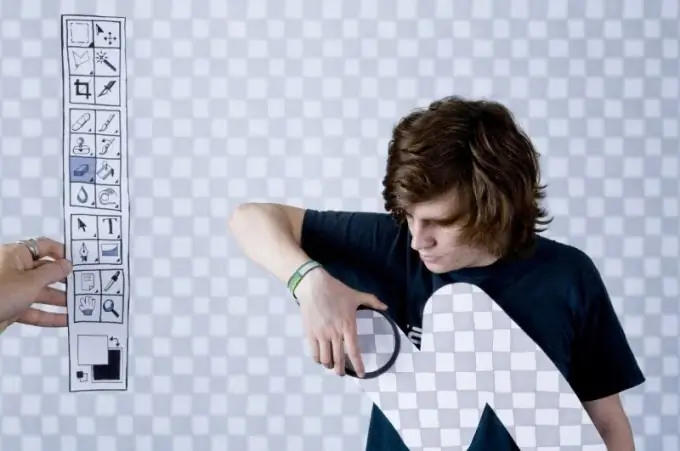
You don't have to be a professional photographer to tweak and tidy up a photo in Photoshop. It is enough to know how and for what the basic tools are used.

Instructions
Step 1
The first step is cropping. It can, if used skillfully, improve the perception of the composition of a photograph. Perhaps an unnecessary object accidentally fell into your frame, or the photo is shifted slightly to the right than necessary.
Step 2
If you are preparing a photo for printing, then in the top cropping panel select the size, the proportions of which will be preserved when cropping the photo (standard 10 cm * 15 cm).
Step 3
Create a new layer. Photoshop won't let you work with the original Background layer. Moreover, in case of unsuccessful editing, the new layer can be simply deleted, while the photo will remain unchanged.
Step 4
Work on improving the quality of your photo. The tools in the "Image" tab of the menu will help you with this. Go to the "Adjustments" category and you will see many different settings. Go through them in stages, observing the result. If you choose "Automatic correction", the program will make it at its discretion, but the result may be unsatisfactory.
Step 5
The option "Levels" is of interest here. With it, you can refine the exposure and even out the tonality of the photo. Select this option and move the sliders under the histogram to its edges. You will notice how the photo has become richer.
Step 6
Many professional photographers use a background blur effect. This is appropriate if the background in the photograph does not play an important compositional role. To blur the background, first use the "Gaussian Blur" (Filter - Blur - Gaussian Blur), applying it to the entire layer, and then use the History Brush on the toolbar to restore the object you want to select.
Step 7
Unevenness and roughness can be smoothed out using the Clone Stamp tool. Select it and, while holding down the Alt key, click on the area of the photo that suits you in terms of the structure. Release the key and transfer the stamp to the place where there is a flaw. Click on it with the mouse.


