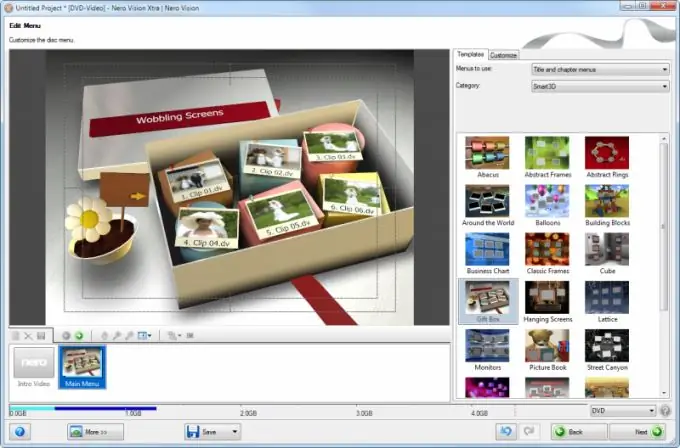
New versions of Nero have a huge number of additional features. With this utility, you can not only burn discs of various formats, but also create your own video clips.

Necessary
Nero Vision
Instructions
Step 1
Download and install the Nero software. Use the version of the utility that has an additional set of applications. After installing the program components, restart your computer.
Step 2
Start the main menu of the Nero program and go to the "Favorites" submenu. Click on the "Create Photo Slideshow" icon. You can also launch the Nero Vision utility immediately.
Step 3
After launching the window of the specified add-on, click the "Browse" button. It is located below the viewing area. In the expanded menu, select View and Add to Project. Change to the directory containing the images you want.
Step 4
Hold down the Ctrl key and with the left mouse button select the photos that should be added to the project. Click the "Open" button. Wait for the files to be added to the Nero menu.
Step 5
Move images out of the viewing area. Try to use the right sequence of frames right away. This saves you the extra permutation manipulation. After adding all frames, click the Show Audio button located above the render bar.
Step 6
Open a Windows Explorer window and navigate to the folder where the matching music tracks are located. Move the selected files to the Nero program window. Now adjust the display time of the slides.
Step 7
For each specific image, set your own time interval. If you have too few pictures to fill a full video, you can do two things. Cut the audio track. To do this, use additional programs.
Step 8
If you don't want the track to end early, use special transition effects. Click on the desired frame and select the appropriate effect from the proposed table.
Step 9
Now click the "Next" button, select a folder to save the video file and specify its name. Click the Save button.


