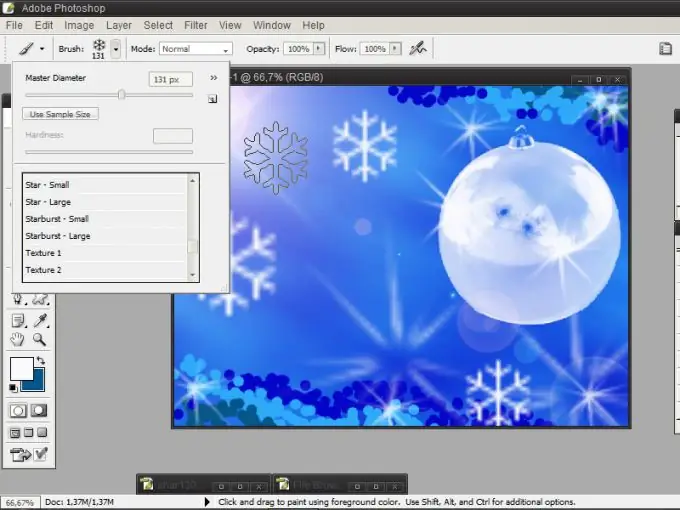
If you want to create original work in Adobe Photoshop, you cannot do without installing additional brushes. The easiest way is to download a ready-made collection from the Internet - many users share them absolutely free. You can adjust the settings of the brushes already in the program so that they will be transformed beyond recognition. But even more creative possibilities are provided by the brushes you create yourself.
Necessary
- - computer;
- - Adobe Photoshop program;
- - internet connection.
Instructions
Step 1
Download a ready-made collection of brushes from the Internet to your computer. If the files are zipped, unpack the archive.
Choose only those brushes that are designed for your version of Adobe Photoshop. Typically, file owners specify these parameters.
Step 2
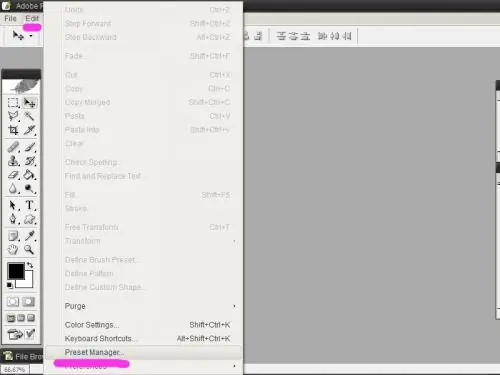
Launch Adobe Photoshop on your computer. From the Edit menu, select Preset Manager.
Step 3
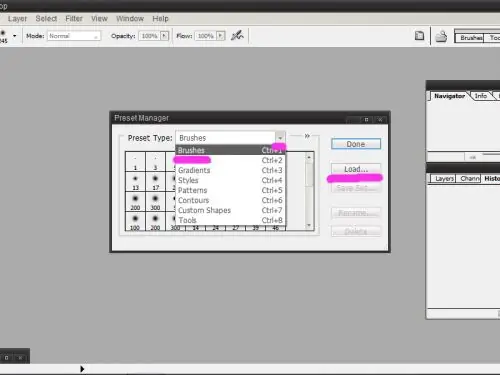
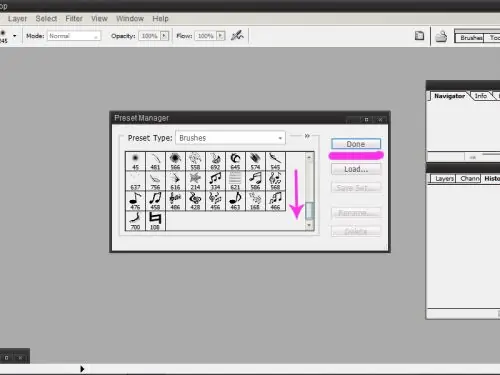
Set in the opened box Preset Type: Brushes (Type of set: Brushes). Click on the Load button.
Step 4
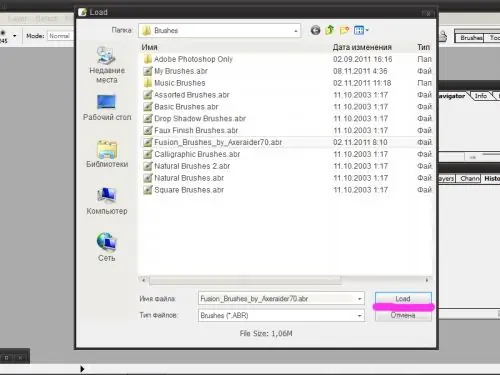
Navigate in the window that opens to the folder where the brushes you downloaded are stored. Select the brushes file - it must be with the abr extension - and click on the Load button.
Step 5
Make sure with the scroll bar that the brushes are loaded into the program. If everything is in order, click on the Done button. Create a new file and see how your new brushes "behave" in practice.
Step 6
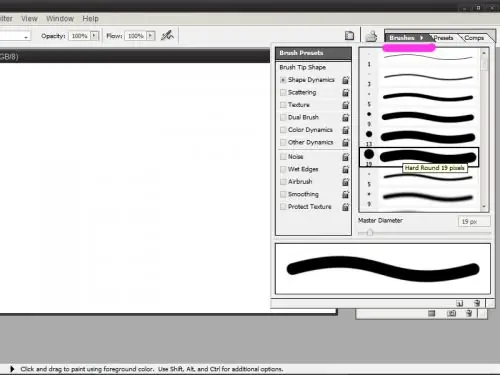
Edit the settings of the installed brushes. To do this, in the upper right corner of the program window, open the Brushes tab. Select the brush for which you would like to change the properties.
Step 7
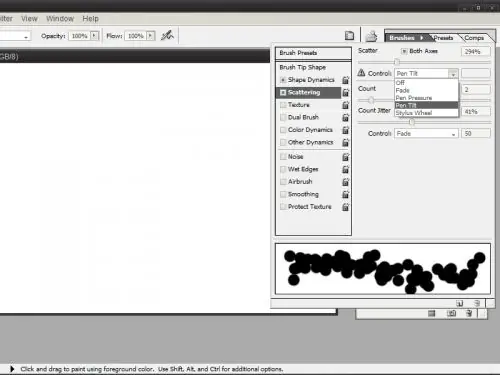
Select the characteristics to be edited in the left half of the window. Change the parameters using the tools in the window on the right. All results will be clearly displayed in the viewing area below. Do not be afraid to experiment, try all the options - this way you can get unexpected effects that will be useful to you in the future.
Step 8
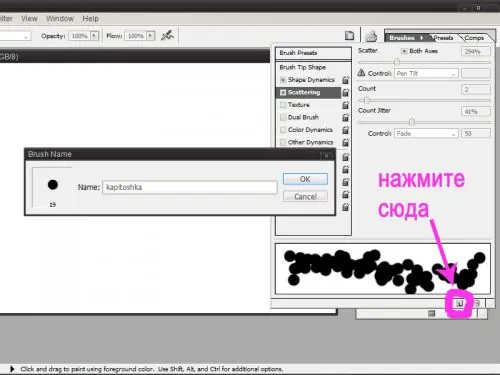
Save the resulting brush by clicking on the square at the very bottom of the window (see figure). Give the new brush a name so that you can easily find it in the list later. Click on the OK button - the new brush has been added to your program.
Step 9
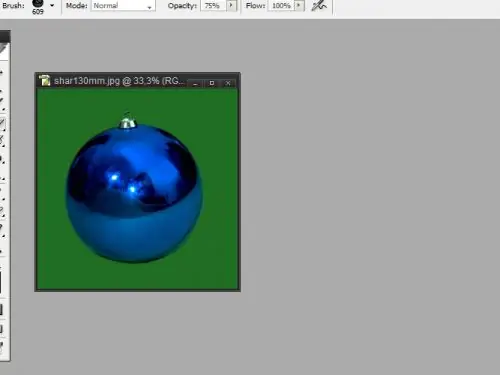
Create your own brush from any graphic file. For example, a New Year's brush was made from a photograph of an ordinary Christmas tree toy.
Step 10
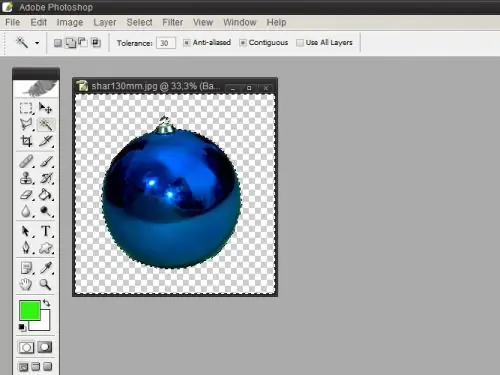
Select the area of the drawing that you would like to use as a brush in the future. Delete all other elements or simply hide them. If necessary, adjust the parameters of the selected area - size, brightness, contrast, etc.
Step 11
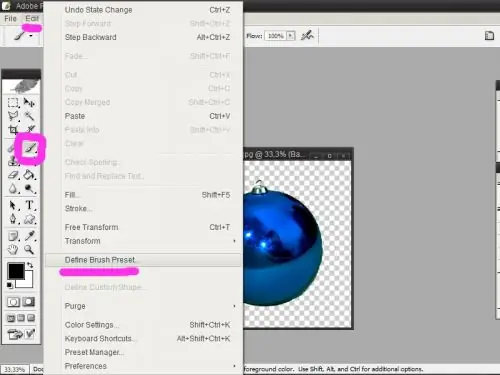
Deselect the selection. Find Define Brush Preset in the Edit menu.
Step 12
Enter the name of your new brush in the window that opens and click OK.
All - the brush has been added. You can work with her.


