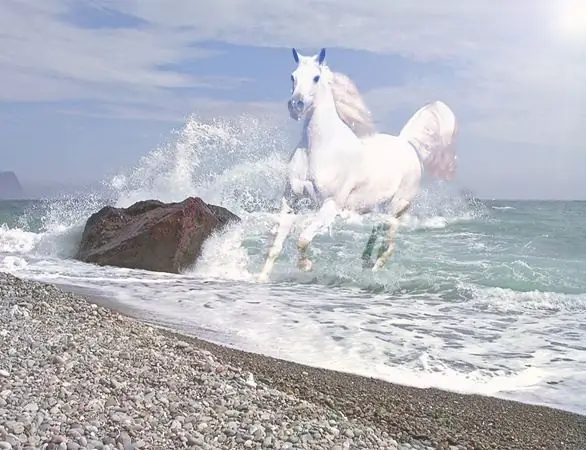
In order to create a beautiful realistic collage, it is often necessary to superimpose one image on another or transfer an object from one photo to another. Photoshop provides rich opportunities for this.

It is necessary
Adobe Photoshop, photos
Instructions
Step 1
First you need to select the part of the image that you will move. Open a photo or drawing in Photoshop. Select the Magnetic Lasso Tool from the toolbar. Move the cursor over the desired object and circle it. If you grab an area of the background while stroking, undo the erroneous step by pressing the Backspace key. When the desired fragment is completely outlined, double-click the left mouse button.
Step 2
Now you need to save the allocated object to the memory buffer. The easiest and fastest way to use the keyboard shortcut is Ctrl + C.
Step 3
Open the second image where you will place the saved object.
Step 4
In the layers panel, double-click on the layer to unlock it, and click on the second from the right button Create a new layer. After that, paste the image from the clipboard using the Ctrl + V key combination.
Step 5
Then the fun begins - the transformation of the two parts into a realistic image. Since in this example the horse is in the water, apply the Overlay blending mode to the layer - now the image has become more believable.
Step 6
However, a straight line of water looks just awful. To fix this flaw, you can use the Clone Stamp Tool, adding foam and waves around the animal's shape. Create a new layer above the horse layer and name it Foam. Choose Stamp from the toolbar. Go to the sea layer. Move the cursor over the place of the photo where there is a lot of foam, and press the Alt key. A cross appears inside the circle - this means that the tool has memorized the area that needs to be "cloned". Now go back to the "Foam" layer, press the left mouse button and draw a line. The cross with which you marked the sample drawing moves parallel to the cursor. On a new layer, the pattern appears with the cross over it.
Choose areas for cloning carefully, make sure that the correction makes the image more realistic. If you do not like the result of some actions, you can undo them. To do this, select the Edit and Step Backward items in the main menu.


