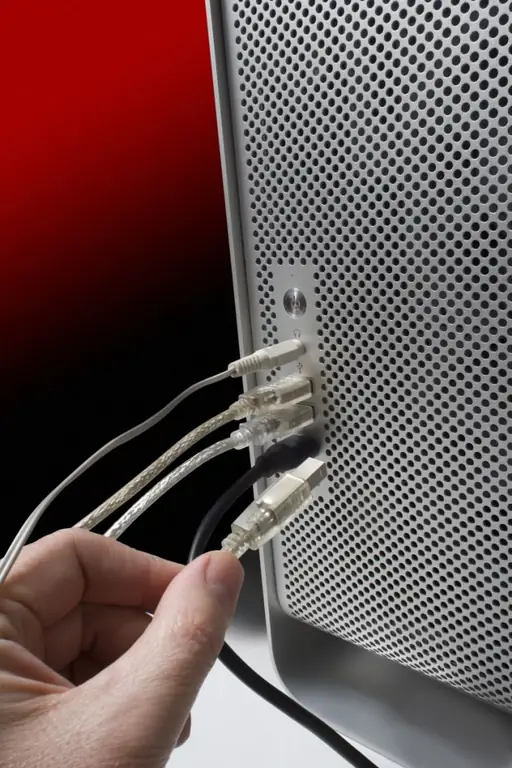
Sometimes users prefer to assemble a computer on their own over the purchase of a ready-made model. The fact is that this helps to significantly save money and choose exactly those components that you want. However, for correct assembly, you need to have some basic information.

Instructions
Step 1
Start assembling your computer by installing the processor on the motherboard. All other components will directly depend on the type of processor you choose (in this case, the Intel model is considered). So, in front of you is the motherboard, in the center of which is the socket (it is protected by a cover). First you need to move to the side and raise the socket lever, then open the mounting plate and finally remove the protective cover. Now take the processor and remove the black plate from it. Grab it only by the edges, not touching the contacts. It is necessary to lower the processor into the socket without distortions, strictly vertically. After completing the process, close the plate and lower the socket lever.
Step 2
Next, you must install the heatsink on the processor. In the corners of the socket you will see four small holes, and on the radiator, on the contrary, there are four "legs". Insert them into the holes and press on each one in turn to secure all the elements. In this case, every time you will hear a characteristic click.
Step 3
Check if all the elements are securely fastened, and connect the processor cooler to the special connector on the motherboard marked with the inscription CPU-FAN.
Step 4
Proceed to installing RAM. You only need to place it in a special slot, and then secure it with a light press. It is difficult to make a mistake here, since the motherboard slot has a partition corresponding to the notch in the memory card.
Step 5
There is nothing complicated about installing a video card. It should be inserted into a slot called PCIExpress. It sits directly above the processor (placed horizontally). After placing the card there, press on it until it clicks.
Step 6
Screw the motherboard onto the back inner case cover. Do not forget that in advance it is necessary to insert a special plug there, the so-called nameplate, designed to protect against the ingress of foreign objects and dust into the components. Be sure to check if the stands screwed into the case match all the holes in the board.
Step 7
Now proceed with the installation of the power supply unit, which is responsible for supplying the computer with the required voltage. Fasten it with four screws to the system unit (this can be done using a regular Phillips screwdriver). Next, connect the unit to the network. To do this, you need the appropriate cable. To distinguish it from the rest is quite simple: it is much thicker. The plug is connected to the network, and the other end of the cable, respectively, is connected to the connector on the system unit (it is located on the back cover of the unit, at its very top).
Step 8
When installing a hard drive, remember that these devices of different generations may differ in physical connection standards and connectors. The most common now are two formats: Sata and IDE. The latter, although a little outdated, still remains quite popular. Each type of hard drive has a special data cable and outputs. A Sata hard drive is connected to the corresponding controller connector on the motherboard. Try to screw the device itself in its place in the system unit as securely as possible, since vibration of the device during operation is extremely undesirable.
Step 9
You can install a monitor without having any special skills. First, take it out of the box and place it on the table. Prepare cables from the kit. Connect one of them to the monitor connector on the back panel and to a power outlet on an extension cord or surge protector. The second cable goes to the system unit. Insert the plug of the longest cable that comes from the monitor into the corresponding connector on the back of the unit. Tighten both screws on the plug.
Step 10
To connect the keyboard, insert the cable plug into the dedicated USB port. Note that there is only one correct way to install it. Therefore, if the plug does not fit into the jack, turn it over and try again. Do the same with the mouse (if it is not wireless).


