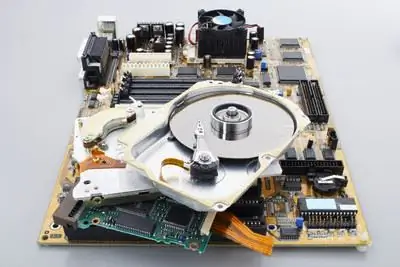
For those who are more or less versed in computer hardware, it is no longer a secret that the total cost of components required to assemble a computer is lower than a finished computer. This is explained by the fact that assembly firms charge a certain fee for assembly. But, despite the existence of such guarantees, many would like to try themselves as a computer assembler. It is about the collection process that today's conversation will be.

Necessary
- - a clean and comfortable work surface, such as a table.
- - availability of all necessary components.
- - an alcoholized swab or napkin.
- - a plastic card as a spatula for applying thermal paste.
- - set of screwdrivers.
- - power connection diagram for the motherboard.
Instructions
Step 1
We will immediately agree that all components are purchased and selected in advance. In the first stage of assembly, you must create a "test bench", the main purpose of which is to check all computer "spare parts". Prepare your dough work surface and unpack the accessories.
Step 2
Place the motherboard on the padded cushion that is usually found in the box for the motherboard.
Step 3
Let's move on to the processor. After unpacking it, clean its metal surface from grease using an alcohol-based napkin. When installing the processor, make sure that the golden triangle drawn on one of the corners of the processor matches the triangle drawn on the processor socket.
Step 4
Then pay attention to the fastening of the cooling system. There are fasteners, the base of which consists of two parts, one of which is attached to the back of the motherboard, exactly under the processor socket. It is possible to install such a mount only when you have access to the motherboard from both sides.
Step 5
When installing a heatsink on a processor, make sure that the layer of thermal paste (either on the heatsink or on the processor) is as even and thin as possible. For even application, you can use a plastic card as a spatula, or gently spread the paste layer with your finger.
Step 6
Next, install the RAM, video card and other devices (if any) in the appropriate slots.
Step 7
Now you need to provide the system with power. Connect the plugs of the power supply unit carefully to the corresponding connectors. Follow the diagram that came with the motherboard.
Step 8
Perform a test run of the system. It will allow you to evaluate the work performed and troubleshoot. At the same stage, go to BIOS and check the temperature of the processor. It often happens that thermal paste is applied unevenly, too much or too little, which leads to a decrease in the efficiency of the cooling system. In addition, you might not have properly secured the radiator.
Step 9
After successfully passing the test, you can start installing parts in the system unit. It is better to start with the motherboard, because if you do this later, then you will get in the way of wires from hard drives, drives, and so on. Let the motherboard already have a processor with cooling and RAM. The video card can still be removed. Prepare a cardboard spacer for the motherboard and make sure it completely covers the bottom of the board. This will prevent the board pins from contacting the metal surface of the system cabinet wall. Otherwise, you have a chance not to start the system.
Step 10
Next, install the power supply. Be careful not to touch the processor cooling system! After installing the power supply, you can immediately install the case coolers, otherwise it can cause difficulties later.
Step 11
Install hard drives and then connect them to the motherboard. Then you can install the drive, also connecting everything you need to it.
Step 12
Install the graphics card. Make sure that all connectors providing power to it are securely connected. Now you can install additional cards such as sound, network and so on.
Step 13
Recheck carefully that all connectors are properly connected and that all components in the system are powered.
Step 14
After the system unit is assembled, you can connect peripherals - a mouse, keyboard, monitor, printer and others. Now you can make a test run of the already fully assembled system and evaluate the results of the actions performed.


