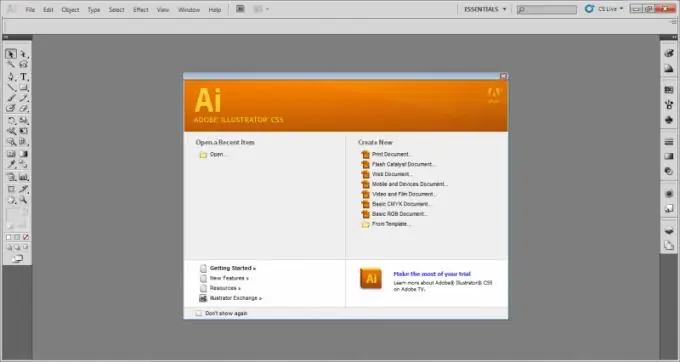
Adobe Illustrator CS5 is a versatile application that can be used to prepare images for presentations and multimedia programs. You can also use it to create and edit illustrations in the printing industry. In this program, you can create a layout.

It is necessary
program Adobe Illustrator CS5
Instructions
Step 1
Launch Adobe Illustrator CS5 to start creating your layout. First, think over the appearance of your book and all its main elements, you should at least roughly imagine what kind of result you want to get. Prepare in advance the text and images that you want to add to the layout.
Step 2
Observe the rules of layout when designing a layout: it must provide an acceptable look, meet design requirements, its result must be convenient to use, and also have a compact layout of materials. Layout is a set of rules that must be followed when placing text and graphics elements.
Step 3
Create a new document, set the size to 140 x 180 mm. Place the page on the screen so that you can see the entire page. This way you can correctly assess the location of graphic and text elements.
Step 4
Place the text in the layout. To do this, select the "File" menu and the "Place" command. Convert text to curves to avoid printing problems. But this must be done after registration. Convert fonts to graphics, the information about the font will be lost, but the appearance of the text will be preserved.
Step 5
Set paragraph indentation for text and set style for headings. Highlight paragraphs with padding. Get rid of the orphans i.e. incomplete, when one line is on one page, and the entire text of a paragraph is on another. This distorts the typing strip and impairs the readability of the text.
Step 6
Place the image in the text using the "File" - "Place" command, position it to the left of the text. Call the horizontal and vertical rulers ("View" - "Rulers" - "Show rulers"). Place the guides horizontally and vertically, with the distance to the edge of the page should be about a centimeter.
Step 7
Apply automatic cut marks, for this select the "Object" - "Create crop marks" menu, then unlock the objects. Choose "Object" - "Free All", move the elements to one layer. Next, save the layout in EPS format. This completes the preparation of the layout.


