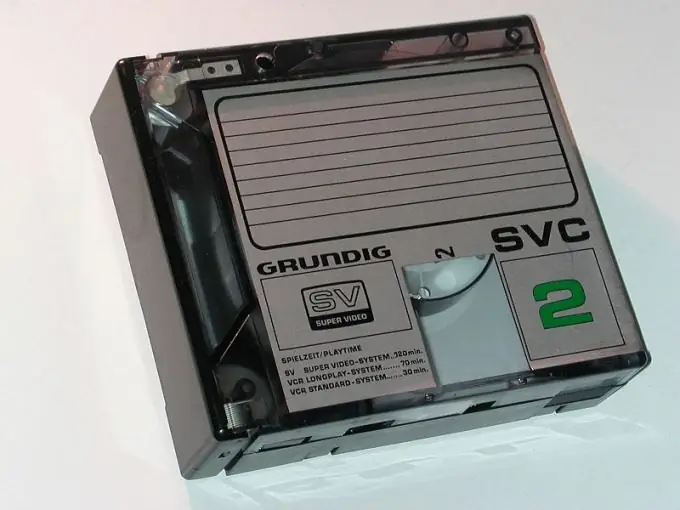
Home video archive stored on VHS or VHS-C cassettes can be irretrievably lost if you do not take timely measures to transfer it to digital format. To do this, you will have to slightly modify the computer and connect a VCR to it.

Instructions
Step 1
For rework, use a desktop computer that has at least one free PCI slot. Buy a TV tuner card designed for this slot. If you are using Linux, select a tuner that is compatible with the V4L software package, and if your computer has Windows, select a card that is supported by the Kastor TV software. In the second case, download and install this program.
Step 2
Power off the computer and VCR. Open the cover of the machine and install the card into a free PCI slot. Secure the board with the screw, then replace the cover. The VCR must be disconnected from the antenna, TV and any other devices. After making sure of this, connect the cases of the VCR and the computer with a wire to equalize their potentials.
Step 3
To supply a video signal, use a cable that has a SCART or RCA type plug on one side (depending on which connector is used in the VCR), and on the other, an RCA or BNC type (depending on the type of connector on the tuner board). On the SCART connector, use the following pins: 17 - common, 19 - video output.
Step 4
The sound signal during dubbing will not be perceived by the tuner, but by the sound card. Do not pay attention to the audio connector on the tuner itself - this is not an input, but an output. On the side of the VCR, use an RCA or SCART plug to pick up the audio signal, and on the side of the sound card, use a 3.5 mm (1/8 inch) monaural jack plug. If you don't have a monaural plug, you can use a stereo one, which will need to connect the middle pin to the common one. Connect it only to the microphone input - in case of an error, the output stage of the card may burn out due to a short circuit of the right channel. Apply the signal not directly, but through a 0.5 μF capacitor (previously discharged). If the VCR is equipped with a SCART connector, use the following pins: 4 - common, 3 - sound output.
Step 5
After completing the assembly, turn on the VCR and computer. On Linux, run the xawtv program, on Windows - Kastor TV. Select the low frequency input in the program. Insert a cassette and start playback - an image should appear on the monitor screen, and sound should appear in the speakers. If you used a VHS-C camcorder to shoot family archives, use the adapter included with the camera, into which you first install a fresh battery. If there is no sound, start the mixer, turn on the microphone input and adjust its sensitivity.
Step 6
Rewind the tape to the beginning of the section you want to digitize and start recording in the program.


