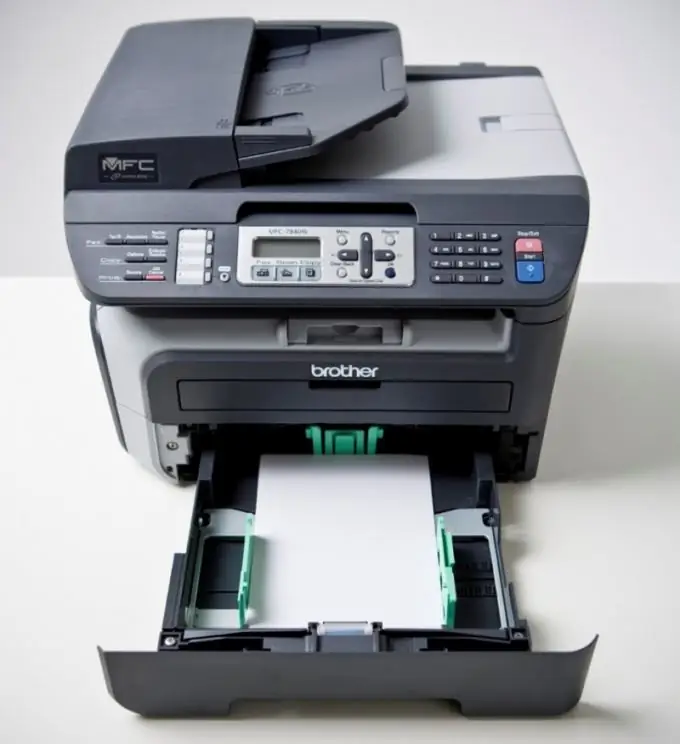
Many modern multifunctional devices include a fax function. But not everyone knows how to properly configure the MFP so that it performs all the required tasks.

Instructions
Step 1
There are two main methods for setting up your MFP as a fax. You can connect an all-in-one device or a computer to the telephone line. Try the first option first. It does not require the purchase of additional equipment, which will save you money. Connect the all-in-one to a telephone line. It is better to use a splitter for this.
Step 2
Connect the MFP to your computer and install all required drivers. It is better to use the disc provided with the device. If it is absent, then open a browser and go to the official website of the manufacturer of this MFP. Find the "Downloads" or "Drivers" section and download software designed to work with this MFP model. Install the downloaded programs.
Step 3
Adjust the settings for the MFP. Open its settings and go to the "Fax Settings" menu. Fill in the required fields. Be sure to specify the number and disable the "Error Correction" function. Configure the settings for saving and copying pages. Save the settings and test the function of the all-in-one.
Step 4
If you use an MFP in the office, and you have a mini-PBX installed, then there may be some difficulties with setting up the device. Try updating your MFP software. To do this, visit the official website of the manufacturer of this equipment. Download the firmware file and the utility for updating the software.
Step 5
Run the downloaded utility, select the desired MFP and select the file. After completing the software update, restart the MFP. Configure it again. Please be aware that older MFPs are not capable of performing various tasks at the same time, such as receiving faxes and scanning third-party documents.


