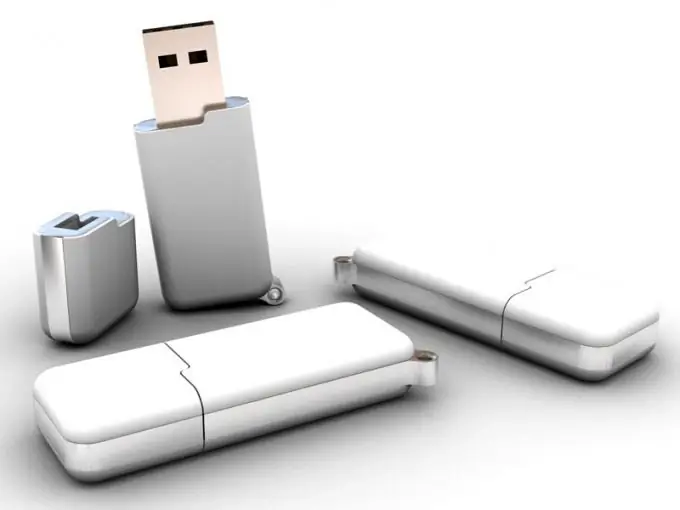
Some virus programs can make it impossible to write information to an external drive. Antivirus software is unable to correctly remove malicious files until the appropriate protection is removed.

It is necessary
- - HP USB Format;
- - JetFlash Recovery Tool.
Instructions
Step 1
Start by trying to format the USB stick normally. Open the "My Computer" menu and right-click on the icon of the connected USB flash drive. In the window that opens, select "Format".
Step 2
Uncheck the Quick (Clear Table of Contents) option. Select the file system you are currently using. Click the Get Started button.
Step 3
If the program was unable to clean up the drive, change the owner of this device. Open the properties of the flash drive and go to the "Security" tab. Click the Advanced button.
Step 4
After launching the new dialog menu, select the Owner tab. Click the "Change" button, select the account you are currently working with and click the "Apply" button. Close the settings menu and try formatting the drive again.
Step 5
Install the HP USB Format Storage software if the standard Windows tools did not cope with the task. Run the specified program.
Step 6
Specify the required flash card by selecting it in the Device field. Open the File System menu. Select the file system format that is not currently in use.
Step 7
Deactivate the quick cleaning function. To do this, uncheck the Quick Format option. Check the formatting options again and click the Start button.
Step 8
Install the JetFlash Recovery Tool if the above utility was unable to access the drive. The specified program is designed to restore the original parameters of the flash drive. Insert the device into a USB port on your computer.
Step 9
Launch JetFlash Recovery Tool. Select the required flash drive and click the Start button. After completing all the procedures, close the program window. Safely remove the drive. Reconnect the USB flash drive to the computer and check its availability.


