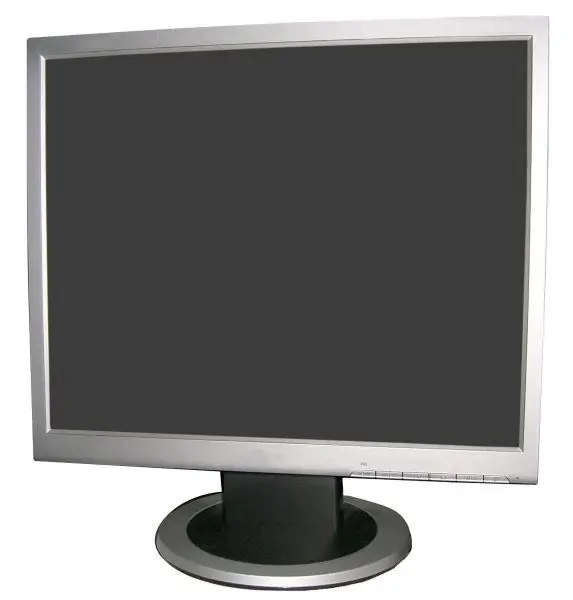
A monitor is the most important component of a computer, without which the system unit simply turns into a dead box. If the monitor is not connected, no work is possible. Therefore, it is very important to be able to properly connect it to your computer and configure it.

Instructions
Step 1
In modern computers, turning on the monitor requires almost no user interaction, since everything happens automatically. If your computer is already assembled and previously turned on in working mode, simply press the Power button on the front panel of the monitor. Sometimes its inscription is replaced with a small icon in the form of a circle with a vertical dash. However, in most cases even this step is not required because most users do not turn off the monitor before turning off the computer.
Step 2
If your computer is completely new and disassembled, before starting work, connect all the necessary components and, first of all, the monitor. To do this, remove the monitor from its original packaging and place it on the supplied stand.
Step 3
After making sure the monitor is securely attached to the stand, remove the supplied cables. Remember that any monitor always uses two cables: the power cable, which supplies power to the monitor, and the interface cable, which the monitor communicates with the computer. It plugs into the video card connector.
Step 4
First of all, connect the monitor cable (which connects to the video card). Find the video card connector on the back of the system unit. As a rule, it is located in the lower part of the case and looks like an elongated strip with a female connector, that is, containing special grooves for incoming plugs.
Step 5
Look at the cables that came with your monitor and choose the one that has the correct plug. Locate the connector on the back of the monitor for this cable. A special feature of this cable is the plug, which has two screws for attaching to the connector. Connect it to the monitor and to the output of the video card.
Step 6
Now plug in the power cord. There are two types of power cables: those that connect directly to an electrical outlet (they have a standard electrical plug), and those that exit through the system unit. Finding the required socket for the connection is quite simple: be guided by the shape of the connectors, which are different for different cables.
Step 7
When connecting cables to the system unit, perform all actions carefully, without the use of physical force, so as not to damage the connector pins. Make sure all cables are connected correctly and that the jacks are firmly seated. Then turn on the computer and press the Power button on the monitor panel. If everything is done correctly, an image will appear on the monitor screen and the operating system will automatically load.


