A modern PC cannot be thought of as an isolated device. Local networks have become commonplace not only in organizations, but also among groups of private users. At the same time, due to the availability of information, there is a tendency for a large number of users to independently carry out the initial configuration and diagnostics of network equipment.

What are the network adapters
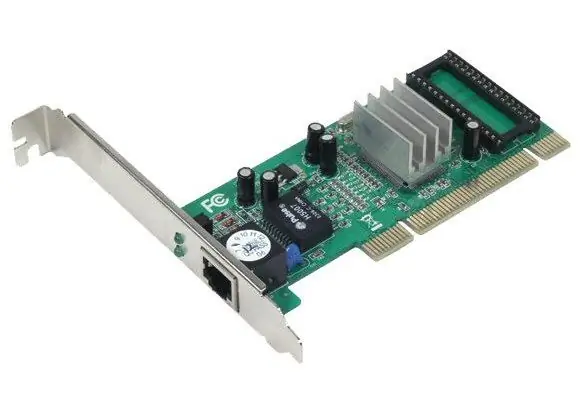
A network adapter is a printed circuit board that plugs into a slot on your motherboard. It can also be integrated into the motherboard or connected to a computer via a USB connector. There are other options, but these are the most common. The adapter can be distinguished by the characteristic connector designed for connecting the network cable connector. Adapters for network connections using fiber optic or Wi-Fi technology are becoming more common. The latter are distinguished by the presence of a radio antenna. The purpose of any kind of network adapter is the physical connection of the computer and the transmission medium, as well as the preparation and transmission of data from one device to another.
Installing and configuring the network adapter
Before installing the network adapter, pay attention to its brand, it will be required during the setup process. Physical connection requires access to the motherboard. For this purpose, you need to disconnect the cover from the system unit.
Next, find a connector on the motherboard for installing a network card. Often, in this case, you need to remove the covering metal plates from the back of the system unit in order to bring out the external interface of the adapter. Install the module in the slot, make sure that the connector for the cable is accessible, and screw the board with a screw to securely fasten it. Then put the cover back on the system unit. Connect the network cable.
Turn on your PC. After the system boots, a message appears that a new device has been found. For correct operation, you will need to install a driver that matches the system and the brand of the network adapter. It is better to download it from the official website of the manufacturer. Then reboot the system. The network connection icon should appear on the taskbar.
Right-click on the icon and select "Network and Sharing Center". This is where all the network connection settings are made. In particular, go to the "Change adapter settings" menu, after which all existing network connections will open.
To change properties, right-click on the icon of any of them and select Properties from the context menu. In addition, the status of each connection is also visible here: “Enabled” or “Disabled”. Connections included but not working for any reason are crossed out with a red cross. You can also enable or disable the connection (software control of the adapter) through the context menu.


