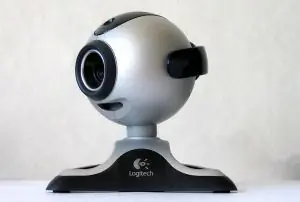
When installing a webcam, the operating system in some cases finds drivers for the device on its own. However, many devices require specific drivers from the manufacturer. Therefore, the standard driver programs from the OS are completely unsuitable for them. In this case, the webcam may not work properly or may malfunction when transmitting a video frame. In any case, if the device comes with a "native" driver, it is necessary to install it. Before that, you need to uninstall the webcam driver installed by the system earlier.

Instructions
Step 1
On the desktop, select the "My Computer" icon and use the right mouse button to expand its context menu. Open the "Properties" item in it. If the icon is not on the desktop, the computer properties can be found through the Start button. Select "Start" - "Computer" step by step and also open "Properties" from the menu.
Step 2
In the window that appears, go to the "Hardware" tab. Various services for device operation are located here. Click on the "Device Manager" button.
Step 3
A new window will show a tree list of all connected devices on your computer. It also contains information about the installed webcam. Find the corresponding line in the list. Typically, webcams are displayed as imaging or video devices.
Step 4
Open the found item and highlight the connected device. In its context menu, click on the "Properties" item.
Step 5
Then, in a new window, go to the "Drivers" tab. Click the Delete button. Then confirm the system's request to remove the webcam. Then the driver will be removed and the device will disappear from the list. For its subsequent work, it will be necessary to install the "native" drivers into the system.


