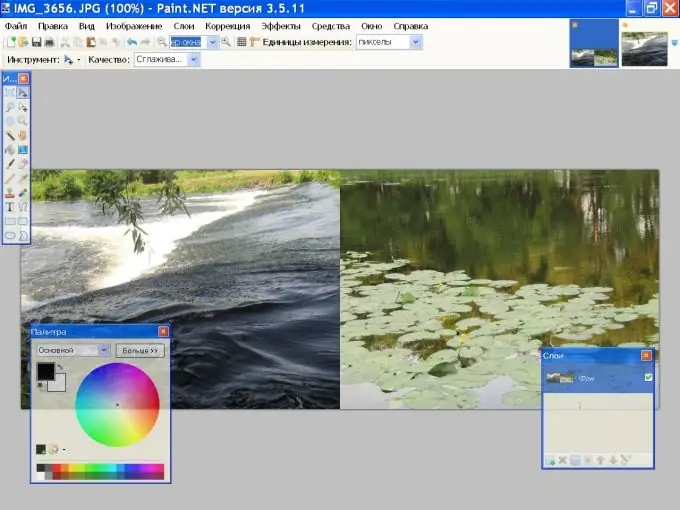
Using the free graphics editor Paint.net, you can create various collages from ready-made images. In this case, the border between the pictures can be clear or blurred.

Instructions
Step 1
Open the first photo using the "Open" command from the "File" menu and specify the path to the required file. If the picture is very large, resize it to fit for the collage. Select the Resize command from the Image menu and select the desired values in the Width and Height boxes. To avoid distortion, select the Maintain Aspect Ratio check box.
Step 2
Open the second photo and resize it in the same way. If you want to place photographs side by side in a horizontal plane, it is desirable that their values coincide in height. From the File menu, choose Select All, then Copy.
Step 3
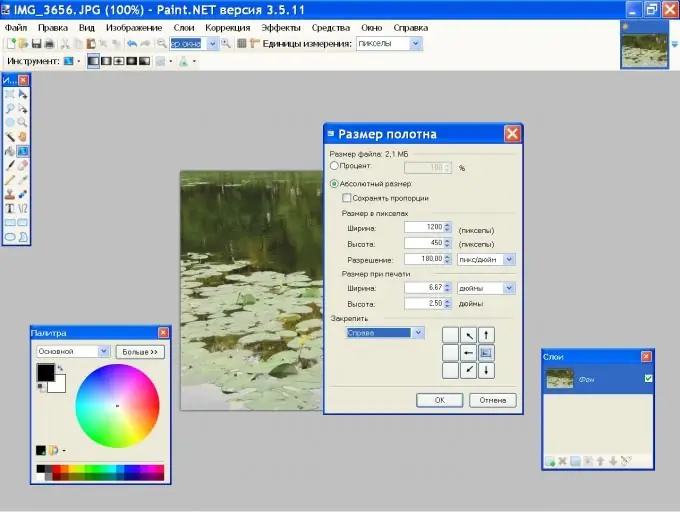
To place two photos side by side, you need to increase the canvas size of the first image. Switch to the first photo, go to the Image menu and click the Canvas Size command. The width of the canvas should be equal to the total width of both photographs.

Step 4
Use the Ctrl + V keys to paste a second photo into the free space next to the first image. If necessary, adjust its size using the size control handles on the sides and corners of the picture.

Step 5
You can make a smooth transition from one photo to another. To do this, place the images on 2 layers, one above the other. On the toolbar, click Gradient. On the property bar, specify a linear type. Select Transparency from the Color and Transparency list. Activate the top layer and draw a horizontal line on the photo.


