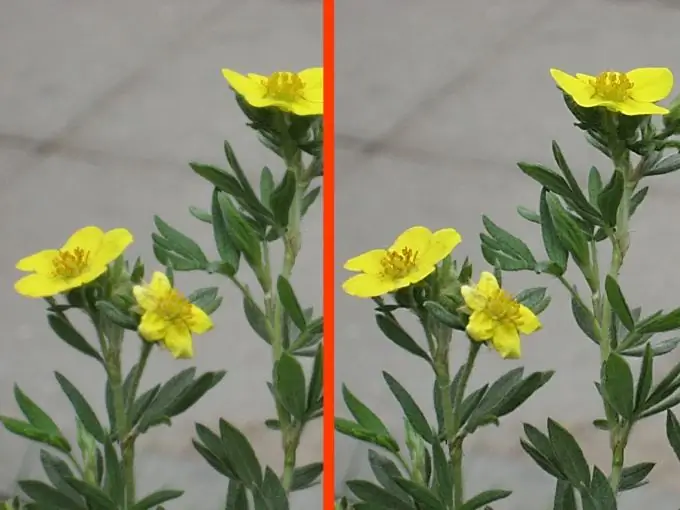
An unsuccessful, fuzzy shot is easier to reshoot than improve. But in some cases, it makes sense to try to slightly improve the image. Moreover, the Photoshop editor has a rich toolkit for this case.

It is necessary
- - Photoshop program;
- - the photo.
Instructions
Step 1
Open the photo you want to sharpen in Photoshop. Do this with the keyboard shortcut Ctrl + O or using the Open command from the File menu.
Step 2
Set the photo to Lab color mode. To do this, select the Mode option from the Image menu. In this option, select the Lab mode.
Step 3
Switch to the channel palette. This palette is located under the Layers palette, in order to switch to it, left-click on the Channels tab.
Step 4
Leave only the Lightness channel visible. To do this, left-click on this channel. The image will turn black and white.
Step 5
Apply an Unsharp Mask filter to the Brightness channel. It can be found in the Sharpen group of the Filter menu. In the opened filter settings window, set the Amount parameter to 85%, the Radius parameter to 1-3 pixels. Set the Threshold parameter to four levels. Other settings may be optimal for your photo. Experiment with the settings and see how the image changes.
Step 6
Left-click on the Lab channel in the Channels palette and look at your photo in color. Reapply the filter if necessary.
Step 7
Switch the photo back to RGB mode. This is done via the Mode option already known to you from the Image menu. Left click on RGB mode. Without switching the image to this mode, you will not be able to save the photo in.
Step 8
Save the photo with enhanced clarity using the Save or Save As command on the File menu.


