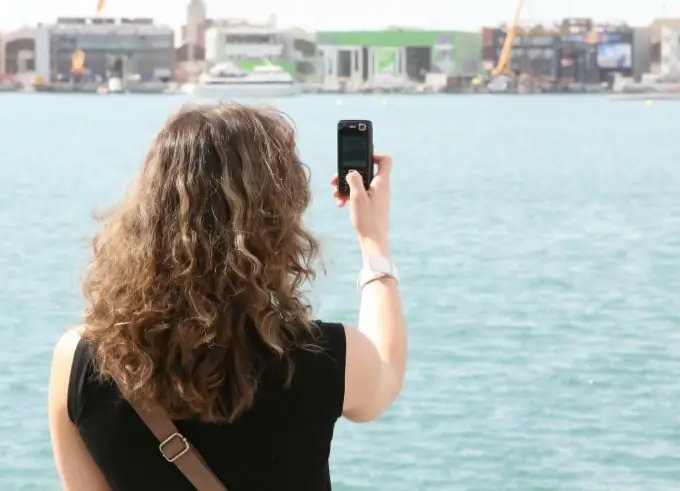
The best way to take a good photo with a mobile phone camera is to carefully read the instructions that come with the device, and take into account the peculiarities of the camera when shooting. However, in some cases, you can slightly correct the damaged image using a graphics editor.

Necessary
- - Photoshop program;
- - plugin Noiseware Professional for Photoshop;
- - a photo taken with a mobile phone camera.
Instructions
Step 1
Load the snapshot that you are going to correct in a graphics editor. To do this, right-click on the file. In the context menu, select the "Open With" option, and in the list of programs, select the Photoshop editor.
Step 2
A common problem when shooting with a mobile phone is a distorted perspective due to the tilt of the camera. Correct the distortion using the Rotate and Distort commands from the Transform group of the Edit menu. With the Rotate command, you can rotate the image, and with the Distort command, change the perspective by dragging the mouse over the corners of the frame that appears around the image. Apply the transformation by pressing the Enter key.
Step 3
Crop the image with the Crop tool. It can be found in the tool palette on the left side of the Photoshop window. Select part of the photo with the tool frame. The portions of the image left outside the frame will be cropped. Apply the tool by pressing Enter.
Step 4
One of the problems with pictures taken with a mobile phone camera is the abundance of noise. Remove noise with the Noiseware Professional plugin. The plugin's settings window opens from the Imagenomic group, which can be found in the Filter menu. From the drop-down list at the top left of the window, select the appropriate preset for noise removal. Take a look at the right side of the preview, where the result of applying the filter is displayed. Click OK.
Step 5
Adjust the color balance of your photo. To do this, switch the image to the Lab color mode by choosing the Lab option in the Mode group of the Image menu and using the Curves command from the Adjustment group of the Image menu to open the filter settings window. Left-click on the rightmost eyedropper in the settings window. Use this eyedropper to select a part of the image that should be white. Left-click on the leftmost eyedropper and point with this tool to the black area of the image. In the drop-down list of channels at the top of the window, select channels a and b in turn. Repeat with the pipettes in these channels. Apply the correction by clicking OK.
Step 6
Adjust the brightness and contrast of the photo. This can be done using the Brightness / Contrast command from the Adjustment group of the Image menu. Drag the knobs to set the parameter values you want. Click the OK button.
Step 7
Switch the image back to RGB mode by choosing the RGB option in the Mode group of the Image menu.
Step 8
Save the corrected photo using the Save As command from the File menu.


